


Stop struggling alone – get insider techniques from a world-touring trance artist. Courses, templates, and sample packs designed to level up your sound.
Stop wasting precious studio time. Let Contemporary Trance Melodies vol. 1 streamline your creative process so you can focus on what truly matters!
There are only 50 spots available, and they’re going fast.
Don’t miss this chance to uncover the secrets of pro trance production – reserve your place now!
When I began ReOrder’s training, I wasn’t entirely sure what to expect. It didn’t take long, however, for me to realize that his mentorship was exactly what I needed to refine and elevate my production skills. ReOrder’s teaching style was refreshingly direct and straightforward—no fluff, just straight to the point. His expertise and confidence in breaking down his methods not only equipped me with valuable know-how but also ignited a spark of self-assurance in me, something I’ll carry throughout my career.
“When I started Music Production with Tibor I could hardly put a track together & now I’m finishing tracks and getting signed to labels. Tibor is an amazing producer & he translates that very well into his tutoring. His way of teaching is great & if something is not sitting right in the track then he explains very well how to fix it. Very grateful for what Tibor has done for me & my music career.”
International Trance DJ & Producer with 25+ years of experience.
No one has time for fluff – we get straight to what works.
We make templates, samples and presets you will use daily.
Production tips, free samples, and exclusive discounts.
Get a taste of pro-level production without any risk. Jumpstart your journey with free lessons that cover the basics of trance composition.
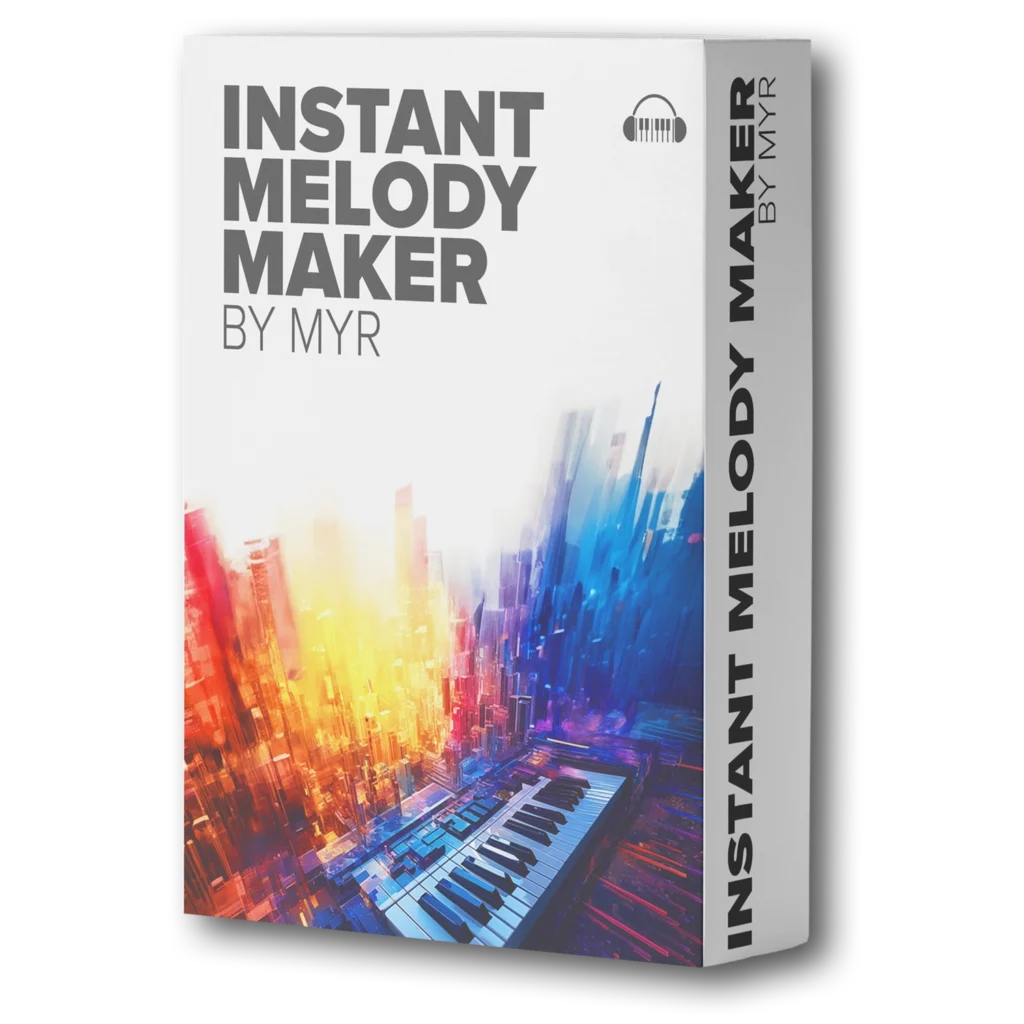
Instantly spark new ideas with expertly crafted chord progressions and melodies designed for uplifting, progressive, and classic trance.
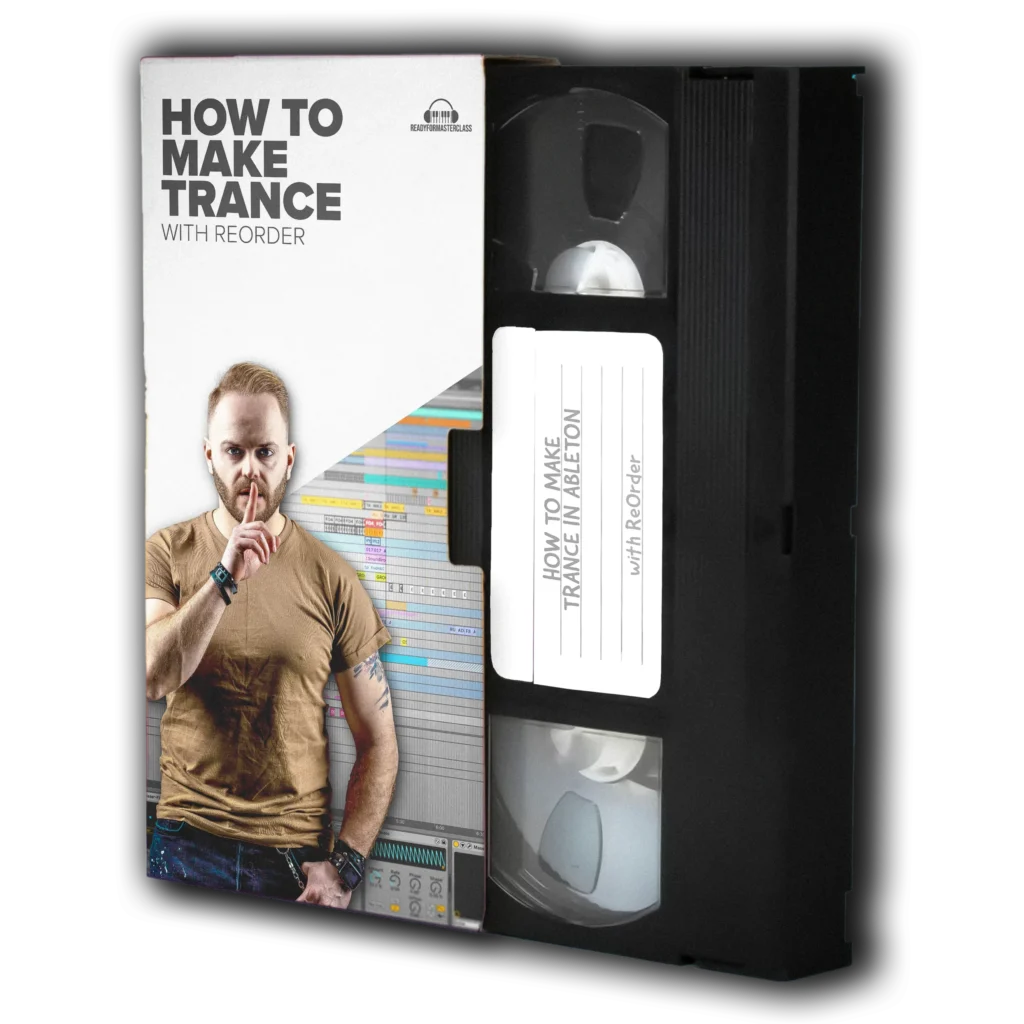
Transform your ideas into label-ready tracks with step-by-step guidance with ReOrder. Perfect for intermediates aiming to go pro.
Kickstart your track with fully arranged project files. Customize drum patterns, melodies, and FX to get pro results faster.
When I started making music, I struggled with learning production from scratch. There was no YouTube, no internet—just endless trial and error. I built my courses and packs to save you from the same frustrations, offering no-BS, practical training that gets you real results. Every course is crafted with care to show you how music is meant to be made—with ease and joy!
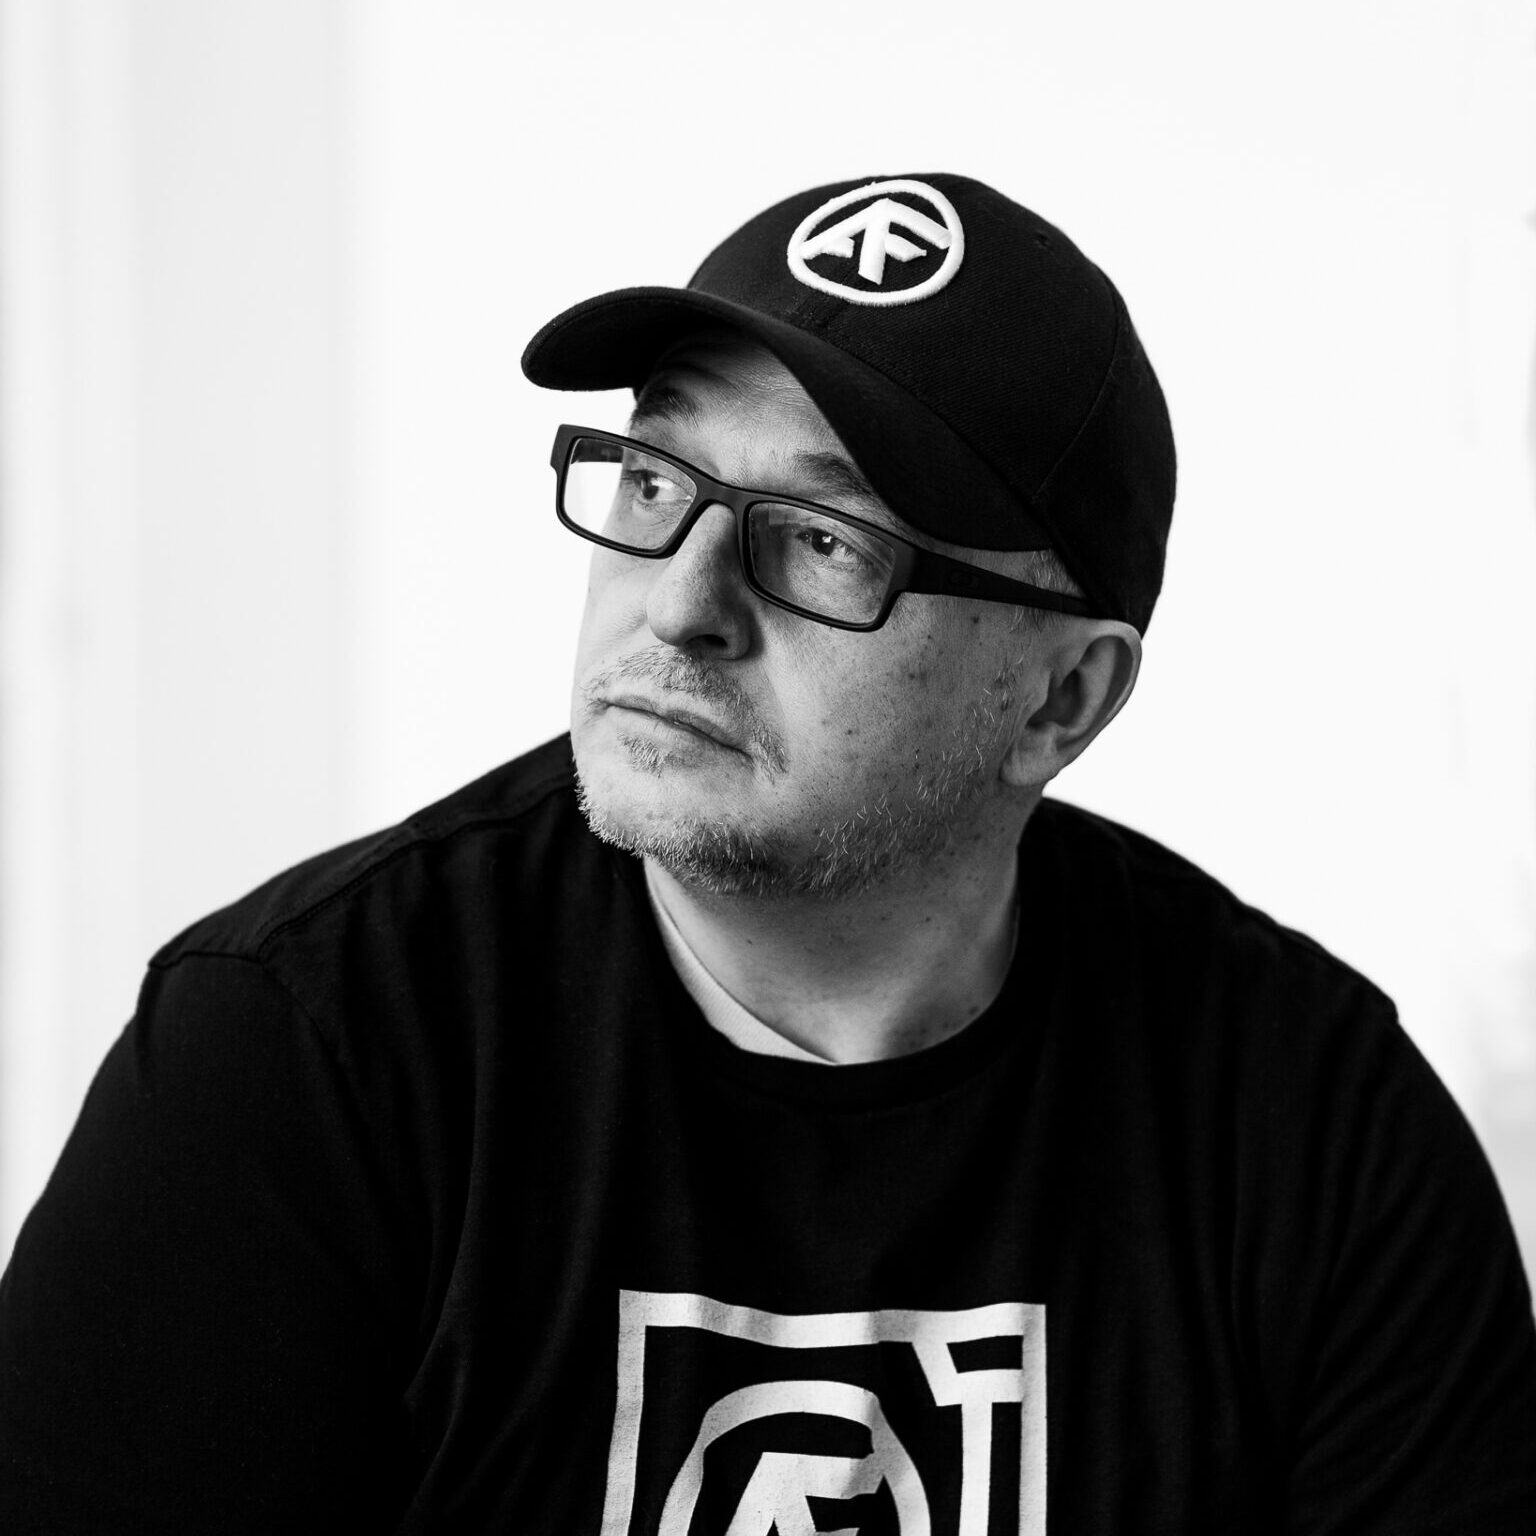
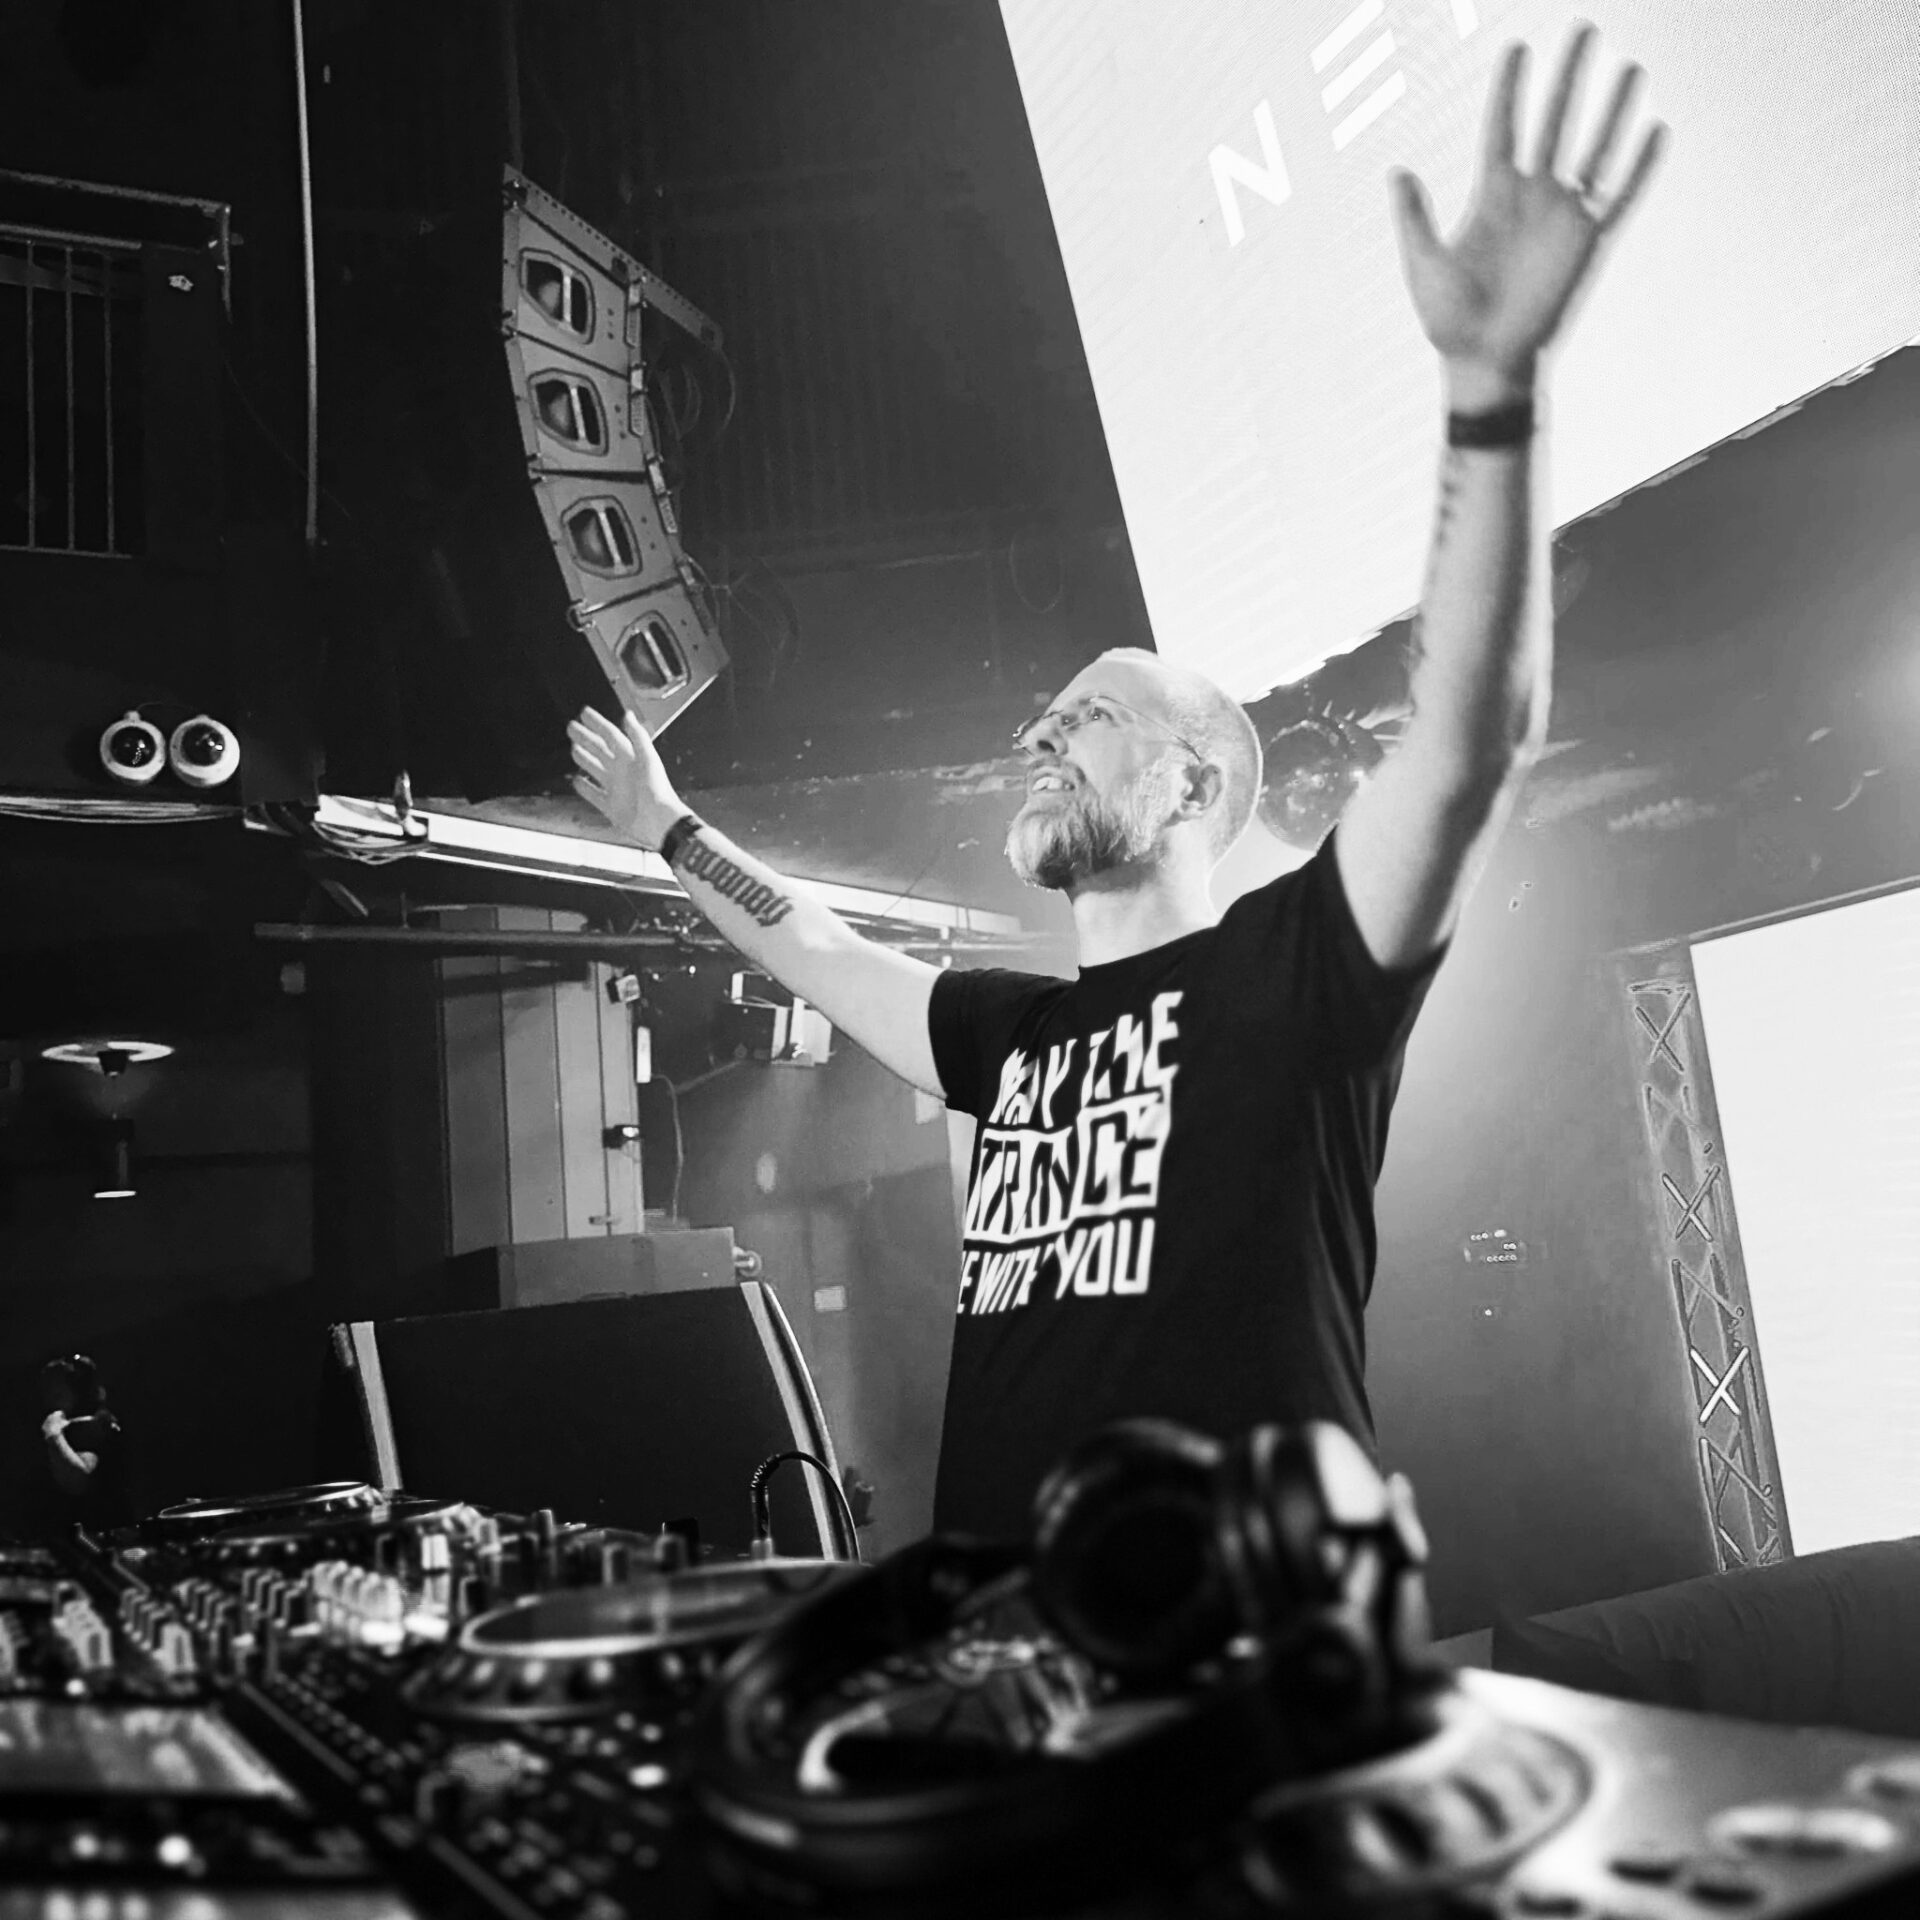
I’m ReOrder, a trance DJ and producer with over 25 years of experience in the music industry. I’ve performed at international festivals like Tomorrowland, Trance Energy, Transmission, Luminosity Beach Festival, Beyond Wonderland, released tracks on major labels like Armada Music, FSOE, Blackhole Recordings, and remixed/collaborated with some of the biggest names in the scene such as Armin van Buuren, Ferry Corsten, Aly & Fila, Gareth Emery, MaRLo, and many others. Every challenge I faced along the way taught me invaluable lessons about creating music that moves people.
ReadyForMasterclass was born from my passion for music and a genuine desire to help aspiring producers avoid the pitfalls I once encountered. Here, you’ll find straightforward, step-by-step lessons and quality resources that cut through the clutter. I believe that producing great music should be fun and inspiring—not frustrating.
Join me on this journey, and let’s make music that moves the world together!
When I started making music, I struggled with learning production from scratch. There was no YouTube, no internet—just endless trial and error. I built my courses and packs to save you from the same frustrations, offering no-BS, practical training that gets you real results. Every course is crafted with care to show you how music is meant to be made—with ease and joy!
I’m ReOrder, a trance DJ and producer with over 25 years of experience in the music industry. I’ve performed at international festivals like Tomorrowland, Trance Energy, Transmission, Luminosity Beach Festival, Beyond Wonderland, released tracks on major labels like Armada Music, FSOE, Blackhole Recordings, and remixed/collaborated with some of the biggest names in the scene such as Armin van Buuren, Ferry Corsten, Aly & Fila, Gareth Emery, MaRLo, and many others. Every challenge I faced along the way taught me invaluable lessons about creating music that moves people.
ReadyForMasterclass was born from my passion for music and a genuine desire to help aspiring producers avoid the pitfalls I once encountered. Here, you’ll find straightforward, step-by-step lessons and quality resources that cut through the clutter. I believe that producing great music should be fun and inspiring—not frustrating.
Join me on this journey, and let’s make music that moves the world together!
“Absolutely loving these presets from the first few acid line presets! They sound fantastic and have a really analogue feel to them. I think you could write a smash hit record just from using these sounds alone.”
“Dune 3 is a super unique instrument, and this pack makes it easy to see why. Getting my ideas out fast is crucial to making music for me and these guys just made my life easier.”
“Tibor once again proves he is one of the best sound-engineers out there. Simply opening this bank got me inspired and get through a rough spot in a track I was stuck in. Thanks guys!!”
“Diva Presets vol. 01 is a Huge bank! Definitely a lot of useful sounds in there!”
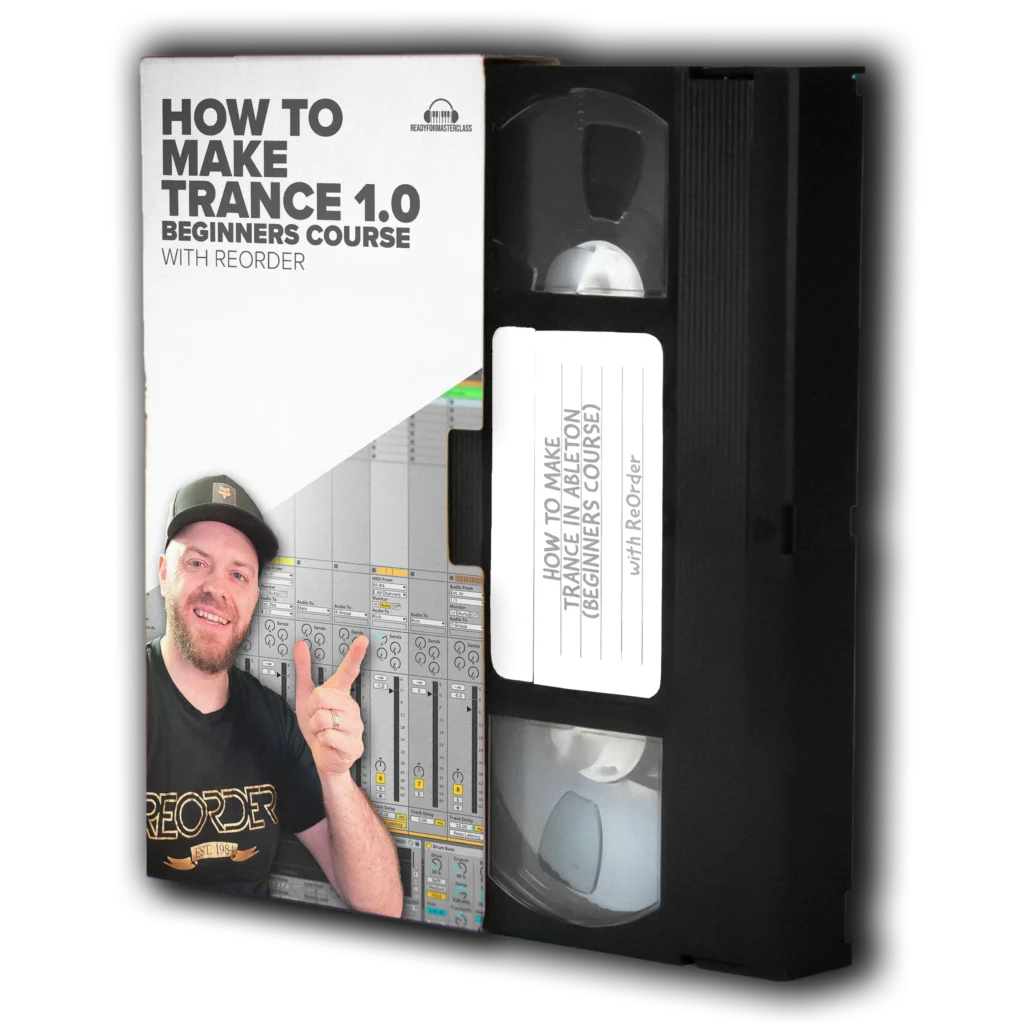
Are you passionate about trance music? Want to create your own uplifting trance single? You’re in the right place! ReOrder’s 2.5-hour masterclass is your perfect guide. This course is fun and easy, just like music production should be.
A groundbreaking toolkit designed to get you headlining at major festivals as fast as possible. This exclusive collection includes an impressive arsenal of creative tools, ensuring you never face the challenge of a creative block again.
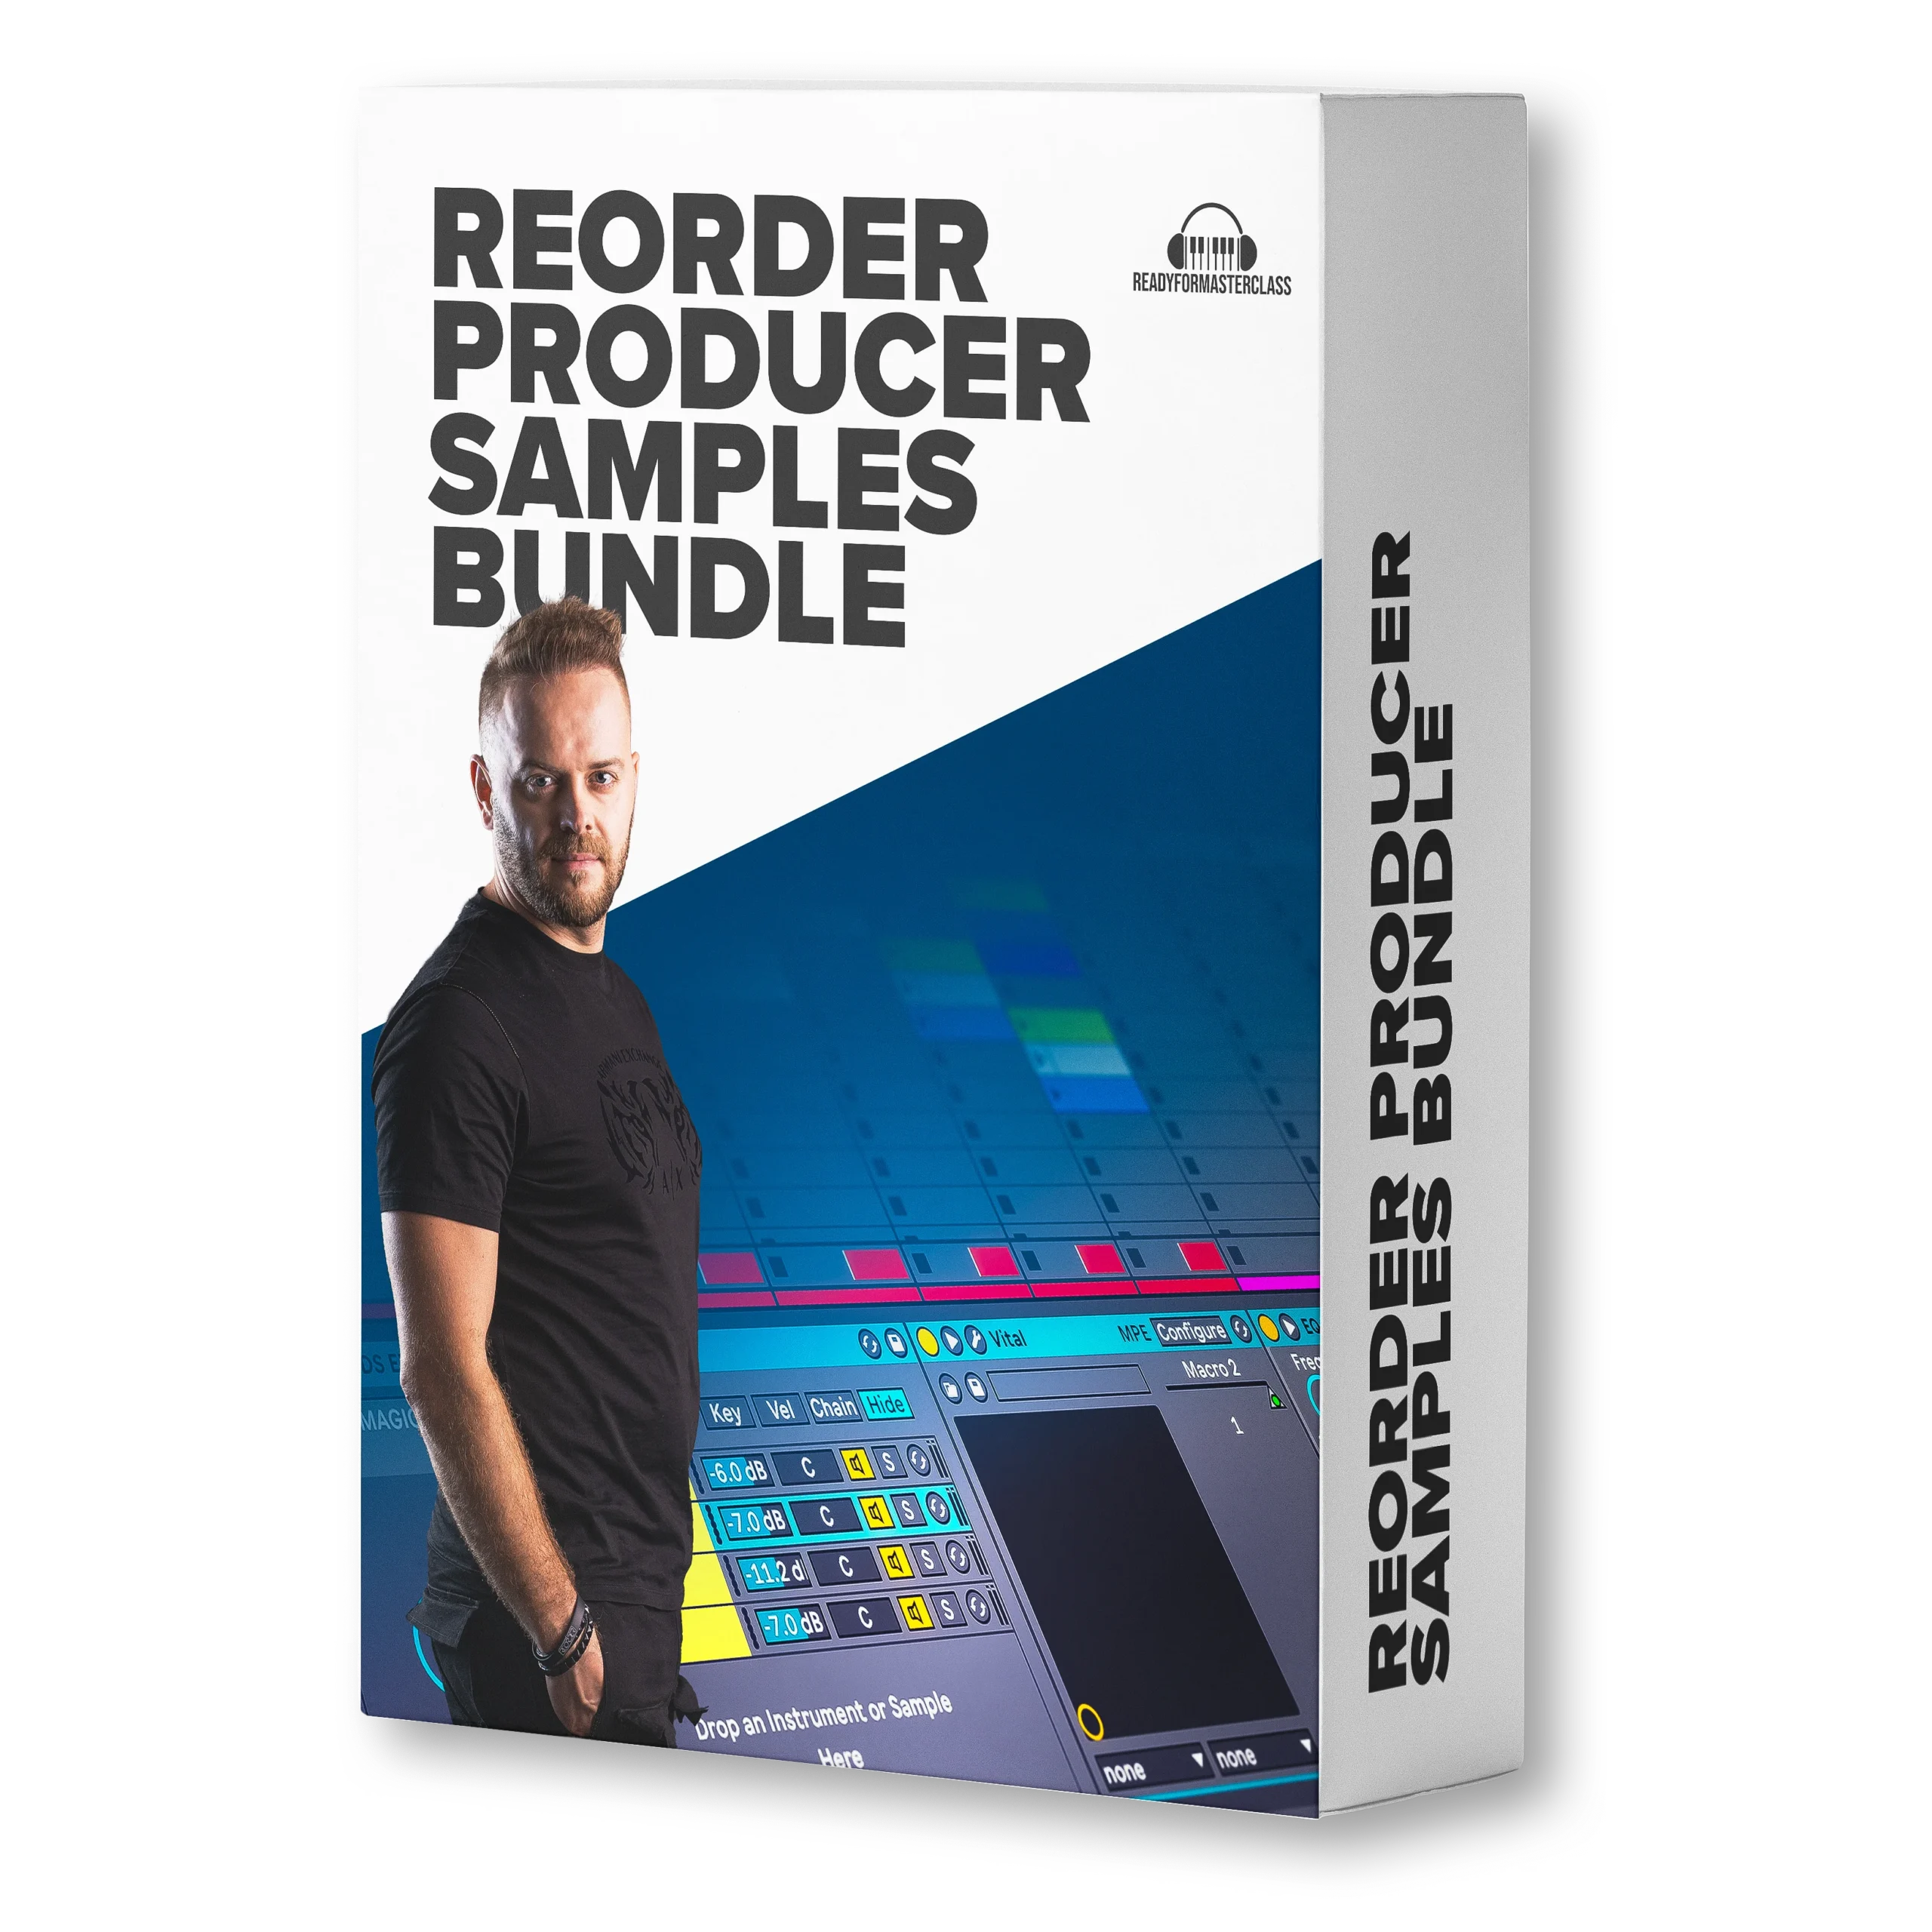
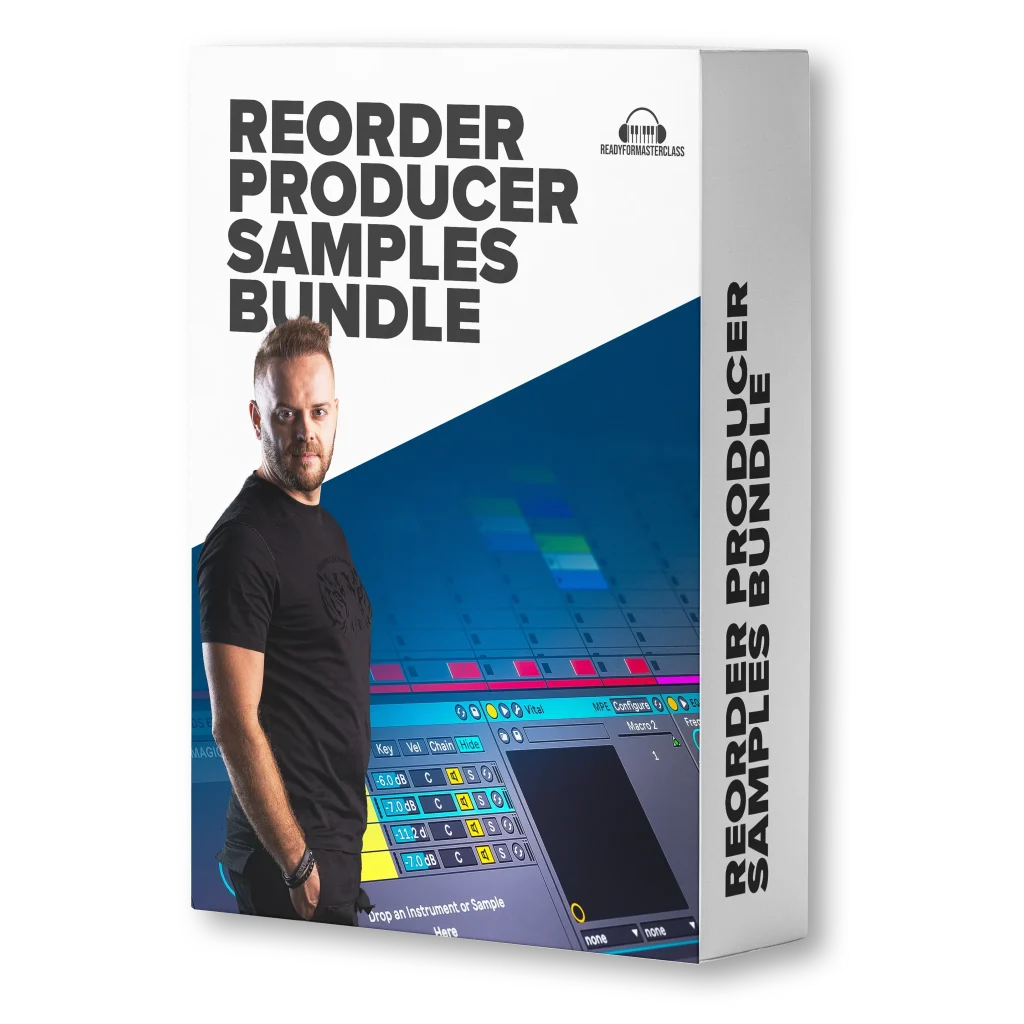
Get the ultimate trance & techno Packed with 1.6GB of high-quality samples, including punchy drums, driving basslines, FX, melody kits, and signature soundsfrom ReOrder’s top releases. This bundle is a must-have for serious producers!
€224,94 Original price was: €224,94.€109,99Current price is: €109,99.
€79,99 Original price was: €79,99.€59,99Current price is: €59,99.
€224,96 Original price was: €224,96.€119,99Current price is: €119,99.
€114,97 Original price was: €114,97.€79,99Current price is: €79,99.
€84,98 Original price was: €84,98.€64,99Current price is: €64,99.
€174,95 Original price was: €174,95.€104,99Current price is: €104,99.
2025 © by Ready For Masterclass
Want to receive push notifications for all major on-site activities?

We use cookies to ensure you get the best experience on our website. We use essential cookies to make our site work. We’d also like to set optional cookies to help us improve your experience, understand how the site is used, and personalize content and advertising.
Your consent: By clicking “Allow Cookies,” you agree to the storing of cookies on your device to enhance site navigation, analyze site usage, and assist in our marketing efforts. You can customize your cookie preferences or withdraw your consent at any time by adjusting your browser settings to delete your consent.
For more detailed information about the cookies we use and how to manage or delete them, please visit our Cookie Policy and Privacy Policy.