Crafting the Perfect Pad Sound Using Sylenth1
 ReOrder
·Mar 26, 2025
·5 min read
ReOrder
·Mar 26, 2025
·5 min read
Hey future trance maestros! 🌟 If you’re diving into the world of trance music, you know that the dreamy, atmospheric pad sound is essential. It’s that lush background layer that fills out the track and sets the emotional tone. Today, we’re going to learn how to craft the perfect pad sound using Sylenth1, a powerhouse synthesizer loved by producers worldwide. Whether you’re new to music production or just new to Sylenth1, I’ve got you covered. Let’s get started!
What is a Pad Sound?
Think of a pad sound as the cozy blanket of your track. It’s the smooth, sustained sound that adds depth, warmth, and emotion. Pads are typically slow and evolving, making them perfect for creating a lush soundscape in your trance tracks.
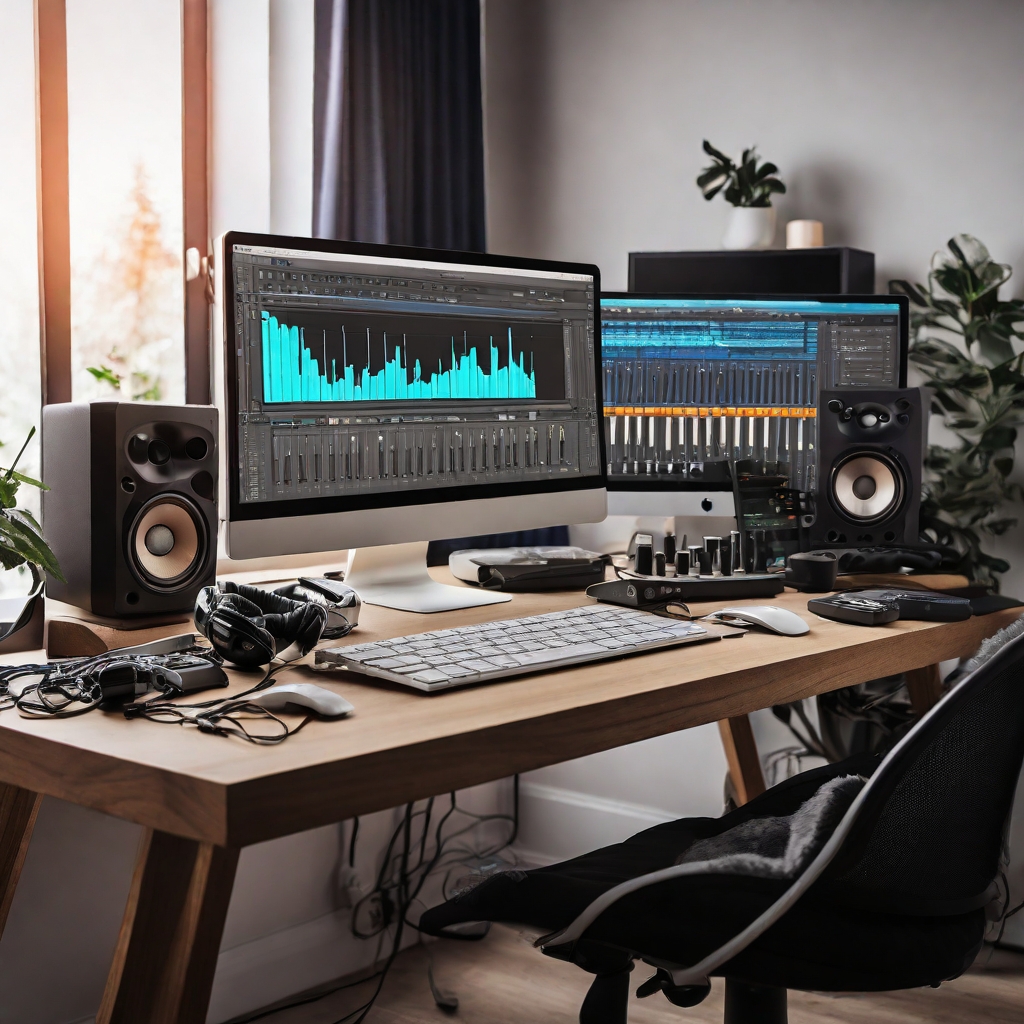
Step 1: Setting Up Your Workspace
Before we dive into sound design, let’s make sure your workspace is ready for action.
Your Digital Audio Workstation (DAW)
A DAW is the software where you create your music. Popular choices include Ableton Live, FL Studio, Logic Pro, and Cubase. Choose the one that feels right for you.
Installing Sylenth1
To create our pad sound, you’ll need Sylenth1. Head over to the Sylenth1 website and download the plugin. Follow the installation instructions, and you’re all set.
Step 2: Understanding Sylenth1
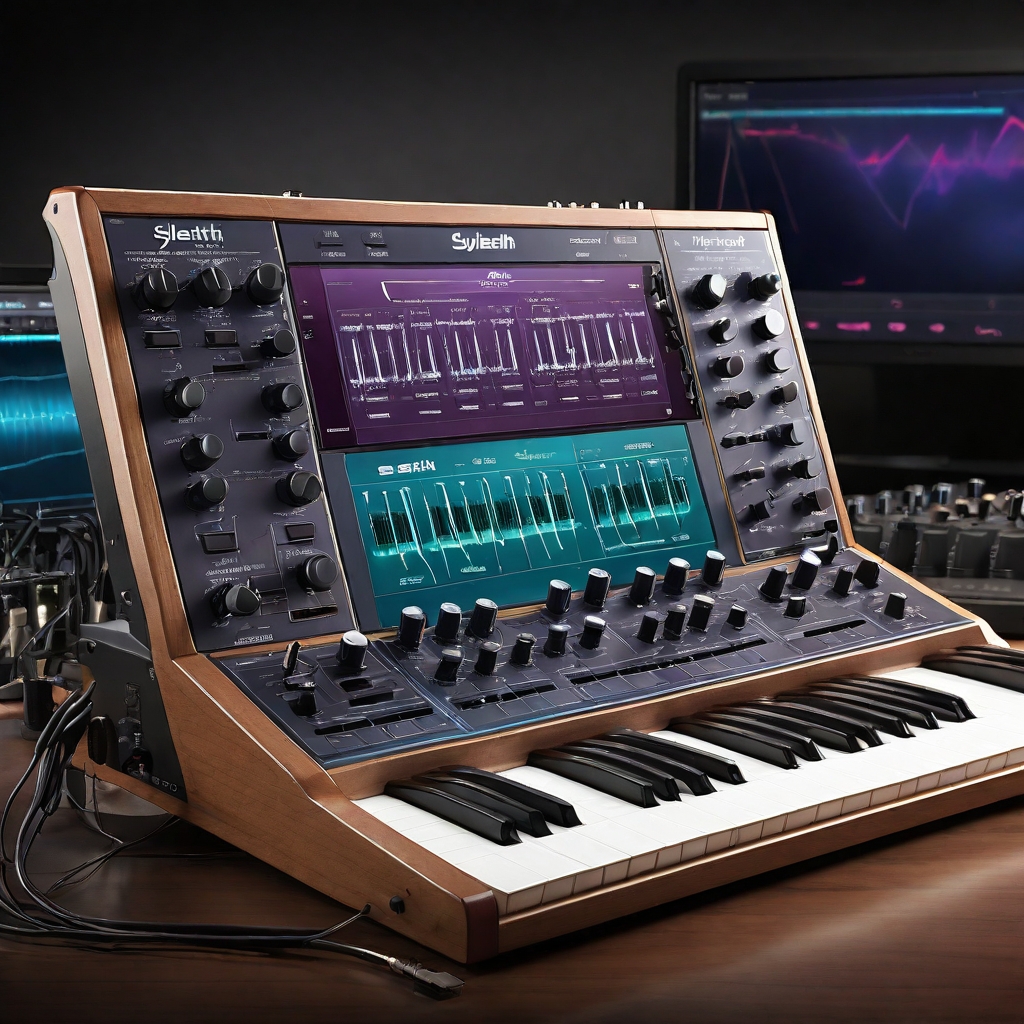
Sylenth1 is a virtual analog synthesizer that’s perfect for creating rich, atmospheric sounds. Let’s take a quick tour of its interface.
The Interface
When you open Sylenth1, you’ll see several sections:
- Oscillators – Generate the basic sound waves.
- Filters – Shape the sound by removing certain frequencies.
- Envelopes – Control how the sound evolves over time.
- LFOs – Add movement through modulation.
- Effects – Add polish and personality.
Basic Controls
- Oscillator A and B: Each has its own waveform and settings.
- Filter Section: Includes cutoff, resonance, and types.
- Amp Envelope: Controls attack, decay, sustain, and release.
- Modulation Section: LFOs and envelopes for movement.
Step 3: Choosing the Right Sound
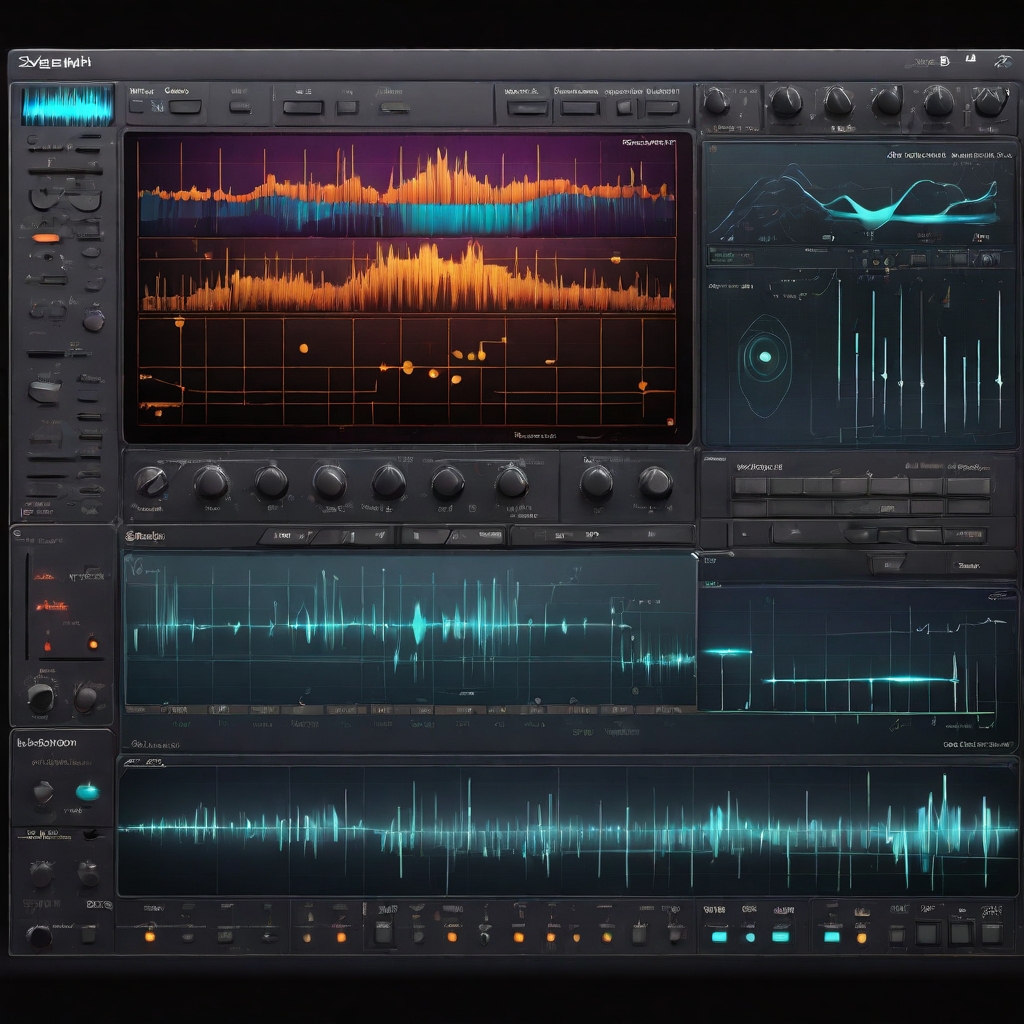
A good pad sound starts with the right waveforms.
Oscillators: The Building Blocks
Different wave shapes create different tones:
- Sine Wave: Smooth and clean
- Sawtooth Wave: Bright and rich
- Square Wave: Hollow and full
- Triangle Wave: Smooth and mellow
Start with a combo of sawtooth and square waves for that classic trance pad.
Layering Sounds
Layer oscillators for depth:
- Oscillator A1: Sawtooth wave, 8 voices
- Oscillator A2: Square wave, detuned
- Oscillator B1: Triangle wave
- Oscillator B2: Another sawtooth, slightly detuned
Experiment and Tweak
Play with volume, detune, and pan until your pad feels just right.
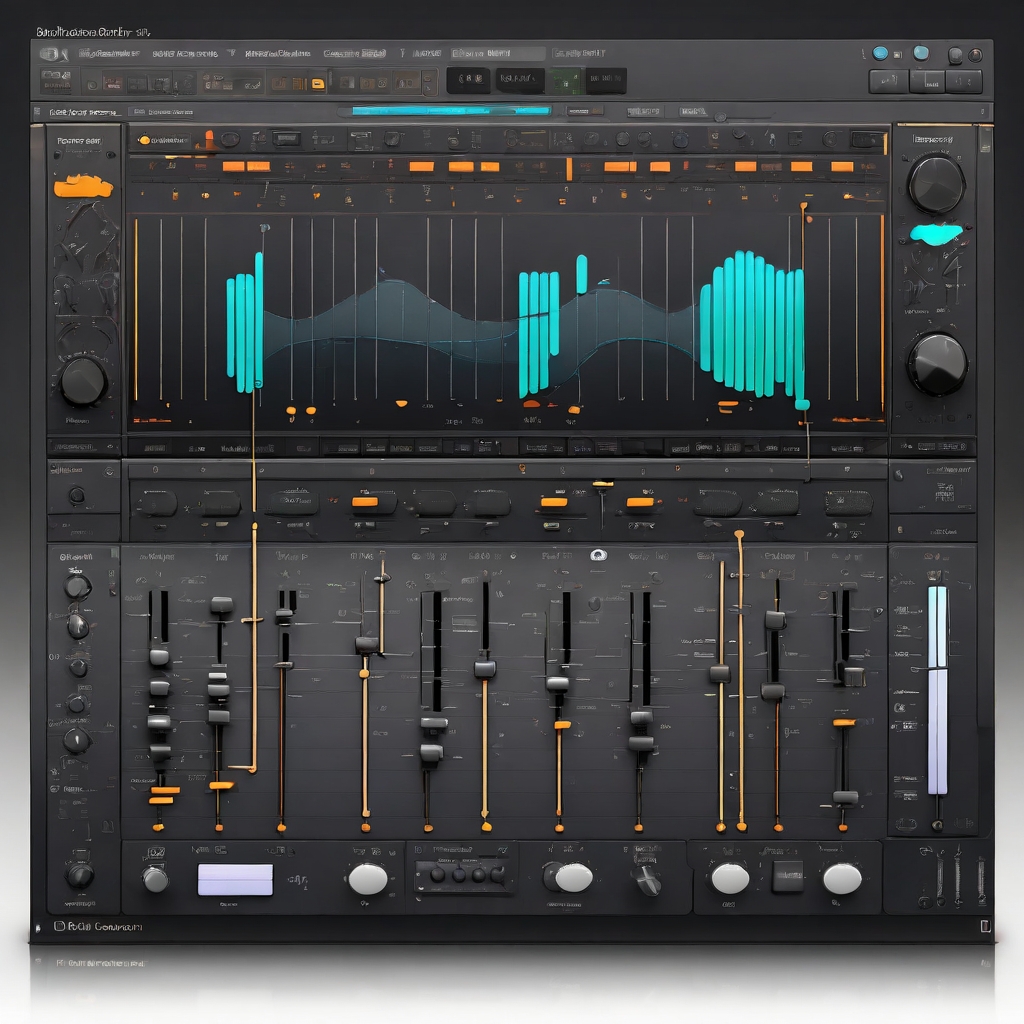
Step 4: Shaping the Sound with Filters

Filters define your pad’s tone.
Types of Filters
- Low-Pass Filter: Smooth and warm
- High-Pass Filter: Bright and thin
- Band-Pass Filter: Focused tone
Use a low-pass filter for that smooth trance vibe.
Filter Modulation
- Assign an ADSR envelope to the filter
- Use slow attack, medium decay
- Add resonance for definition
Step 5: Adding Effects for Extra Spice

Effects make your pad shine.
Reverb
- Hall: Big and spacious
- Plate: Bright and metallic
Start with hall reverb and tweak decay.
Delay
- Simple Delay
- Ping-Pong Delay for stereo effect
Sync it to your track’s tempo for groove.
Chorus
Adds fullness and richness with subtle pitch modulation.
Step 6: Writing the Chord Progression

Time to bring your pad to life.
Basic Music Theory
- Pick a key (e.g., A minor)
- Use in-key chords to build the progression
Crafting a Progression
- Start simple: I–IV–V–I
- Use inversions
- Add extensions like 7ths or 9ths
Rhythm and Groove
Experiment with timing and note length for variety.
Step 7: Layering and Enhancing Your Pad

Additional Layers
- Octave Layer: One pad above or below
- Supporting Harmonies: Complement main pad
Sound Design Tweaks
Adjust panning, volume, and EQ for a perfect blend.
Step 8: Balancing and Mixing Your Pad
Volume & Panning
- Set proper volume
- Slight stereo panning adds width
EQ & Compression
- Boost 200–500 Hz for warmth
- Compress gently to control dynamics
Sidechain Compression
Duck the pad with the kick for clarity.
Step 9: Testing and Refining Your Pad

Listen on Different Systems
Check it on headphones, monitors, car, etc.
Get Feedback
Share it with fellow producers for honest critique.
Refine the Sound
Tweak as needed for your final mix.
Step 10: Final Touches
Automation
- Filter sweeps
- Volume fades for emotion
Extra FX
- Subtle distortion
- Light phaser or flanger
Wrapping Up
Congratulations! 🎉 You’ve just learned how to craft a trance pad using Sylenth1. Here’s a recap:
- Set up Sylenth1 in your DAW
- Understand the synth layout
- Choose and layer oscillators
- Shape the tone with filters
- Spice it up with effects
- Write dreamy chord progressions
- Layer and balance it in the mix
- Test it in different environments
- Refine based on feedback
- Add automation and polish
Now go make something epic and let your creativity soar! 🌌🎶