The Mid/Side EQ Trick That Makes Your Mix Feel WIDE
 ReOrder
·Apr 8, 2026
·5 min read
ReOrder
·Apr 8, 2026
·5 min read
The Mid/Side EQ Trick That Makes Your Mix Feel WIDE
One simple EQ mode switch that makes your mix feel twice as wide — and you probably already have everything you need. Here’s exactly how I do it on every single track.

Here’s something I use on literally every single track, and it’s one of those things that once you hear it, you can’t unhear it. I’m talking about Mid/Side EQ — on your master bus, or even on individual elements like pads and supersaws.
Most producers EQ in stereo and call it a day. But if you switch your EQ to Mid/Side mode (most stock EQs can do this — Ableton’s EQ Eight, FabFilter Pro-Q, doesn’t matter), you can treat the center and the sides of your mix completely separately. And that’s where the magic happens.
What Is Mid/Side EQ?
Quick crash course if you’re new to this. When you EQ in stereo, every change you make hits both channels equally — left and right, center and sides, everything. Mid/Side mode splits the signal differently: the Mid channel is everything that’s identical in both speakers (your kick, bass, lead vocal — the center of the mix), and the Side channel is everything that’s different between left and right (reverb tails, stereo width, panned elements). By EQ-ing these separately, you get surgical control over how wide or focused your mix sounds.
⚡ Quick Take
- Mid channel = everything in the center (kick, bass, lead)
- Side channel = everything panned or stereo (reverb, width, pads)
- Most stock EQs support Mid/Side mode — check the channel selector in EQ Eight or Pro-Q
The Trick: Push Air to the Sides, Keep the Center Clean
Try this on your supersaw layer or your pad bus: switch to Side mode, and add a gentle high shelf boost — something like +2 to +3dB starting around 8kHz. Then switch to Mid mode and do a small cut in that same area, maybe -1 to -2dB.
What you’re doing is pushing the “air” and brightness to the sides while keeping the center clean and focused. Your lead stays punchy in the middle, but the overall sound feels massive and wide. Super easy, right?

⚡ Quick Take — The Settings
- Side mode: High shelf boost +2 to +3dB at 8kHz for width
- Mid mode: Small cut -1 to -2dB in the same area for center focus
- Works on supersaws, pads, reverb sends, and even the master bus
Where to Use It (And Where to Be Careful)
On individual elements like pads and supersaws, you can be a bit more aggressive — +3dB on the sides is totally fine. This is where you’ll hear the most dramatic difference. Your pads will go from sounding flat to sounding like they’re wrapping around the listener.
On the master bus, keep the boosts subtle — 1-2dB max. You don’t want to overdo it here because it affects everything. A little goes a long way on the master.
This is one of those small moves that separates a good mix from a mix that sounds like it could be on ASOT.
The Mono Check — Don’t Skip This
One thing though — always check in mono afterwards to make sure nothing disappears. If it sounds thin in mono, you’ve gone too far. Pull it back until it still sounds full when you hit that mono button. This is non-negotiable. Clubs play in mono more often than you think, and if your mix falls apart when you collapse the stereo image, that’s a problem.
⚡ Quick Take — Safety Check
- Always A/B in mono after applying Mid/Side EQ
- If it sounds thin in mono → you’ve boosted the sides too much, pull it back
- On master bus: keep boosts to 1-2dB max
- On individual elements (pads, supersaws): you can go up to +3dB
I go much deeper into these kinds of mixing techniques in my How To Mixdown Uplifting Trance course — if you want to take your mixdowns to the next level, that’s where I break it all down step by step.
💡 Try This Today
Open your DAW, grab a supersaw or pad bus, and switch your EQ to Mid/Side mode. Boost a high shelf on the Sides at 8kHz by +2dB, then cut the same area on the Mid by -1dB. A/B it — you’ll hear the difference immediately. Then check in mono to make sure you haven’t gone too far. Start with pads — that’s where you’ll hear the most dramatic difference.
🎓 Take It Further
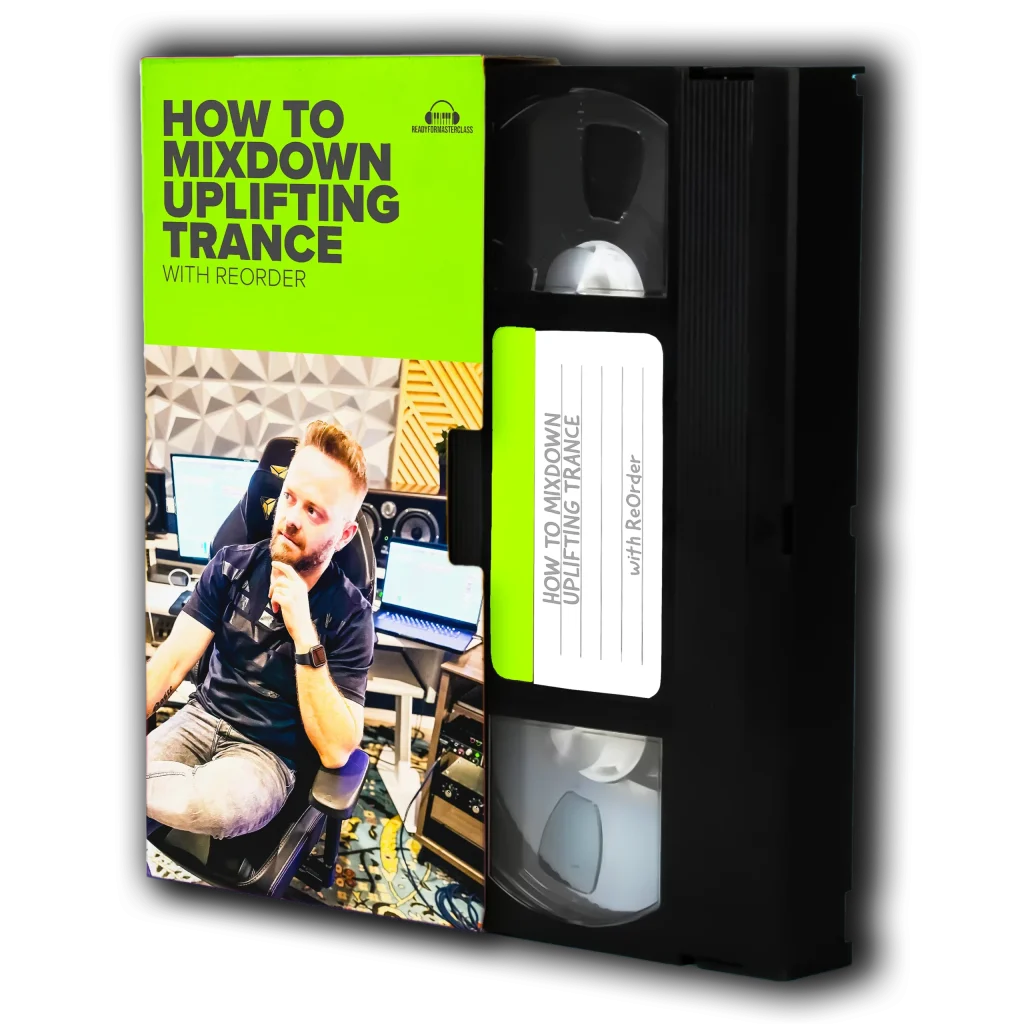
How To Mixdown Uplifting Trance
Learn the complete mixdown process from start to finish — EQ, compression, stereo imaging, Mid/Side processing, and everything you need to get your tracks release-ready.
Have you tried Mid/Side EQ before? If you haven’t, start with your pads — that’s where you’ll hear the most dramatic difference. Once you get the hang of it, try it on your supersaws and even your reverb sends. Let me know in the comments how it worked out for you!