The Complete Guide to Sidechain Compression in Trance: Beyond the Basic Pump
Most trance producers think sidechain compression is just about creating that pumping effect, but there’s a whole world of precision and technique that separates amateur tracks from professional releases. Let me show you the exact methods I use to create driving, clean separation without sacrificing energy.

Here’s something most producers get wrong: they think sidechain compression is always about that obvious pumping effect. But in trance, sometimes we use sidechain to get that bumping effect, and sometimes we don’t want to use sidechain at all so everything feels a little bit more driving. The key is understanding when to use each approach and how to execute it with surgical precision.
When my kick and bass are playing together, I definitely sidechain the bass with the kick. But here’s where it gets interesting – I don’t necessarily need to use traditional sidechain compression because in trance, you can use volume shapers like LFO Tool, Kickstart, and Shaper Box to achieve very nice separation with much more control.
⚡ Quick Take
- Sidechain isn’t just for pumping – it’s about separation and drive
- Volume shapers (LFO Tool, Kickstart, Shaper Box) can replace traditional sidechain
- Choose your approach based on the energy you want to create


The Art of Harsh Sidechain
When I do use traditional sidechain compression, I go harsh. I’m talking about compressing the bass almost all the way down during the kick hit. This isn’t subtle – it’s surgical. The goal is to make sure that the first transient of the bass – that crucial first 1/16 note duration – is fully silenced at the start so the transients don’t overlap.
This technique really helps make the track nice and driving. It’s not about creating obvious pumping – it’s about creating space for your kick to punch through while maintaining the energy flow of your bassline.

The first 1/16 note duration must be fully silenced – no exceptions. This is what separates amateur sidechaining from professional results.
⚡ Quick Take
- Harsh sidechain: compress bass almost 100% during kick hit
- Silence first 1/16 note duration to prevent transient overlap
- Focus on driving energy, not obvious pumping
Kick sits nicely alongside the bass
1/16 Bass Full on Sidechain

My Precise Compressor Settings
If I use a compressor, I like to be very precise. Here’s my exact approach: I always measure the 1/16 note duration in milliseconds for whatever BPM I’m working at, and use that as my release time. My attack is always super short, as close to zero as possible.
Unfortunately, the Ableton compressor will always give you clicks even if you try to make it nicer, so I’ve had to develop some workarounds. Make sure to use peak detection mode so the compressor responds to peaks rather than RMS/average levels – this gives you much tighter control over transients.
Here’s a pro tip that most producers miss: I like to use only the high-end click from my kick for the sidechain trigger. So I always have my EQ turned on and high-passed at about 800Hz so I’m only getting the clicks. That makes the sidechain super nice with a very nice curve.

My Precise Compressor Settings at 138 bpm

For every BPM, I set the release to match the exact 1/16 note duration for that tempo. There is no magic number – I always measure the 1/16 in Ableton and it shows me in the bottom left corner the exact value in milliseconds. This precision is what makes the difference between amateur and professional results. Here is a perfect table you can use showing you the time in ms compared to bpm and grid: https://sengpielaudio.com/calculator-bpmtempotime.htm
⚡ Quick Take
- Release time: exactly 1/16 note duration in milliseconds for your BPM
- Attack: as close to zero as possible
- Peak detection mode, not RMS
- High-pass sidechain signal at 800Hz for clean transients
MIDI Trigger Setup for Volume Shapers
When I work with LFO Tool, it’s good to have a MIDI trigger setup. Here’s my exact routing: I have an external instrument inside an instrument rack where there’s nothing actually playing, but I’m just sending a signal to LFO Tool.
I set it to MIDI trigger mode which is turned on in LFO Tool, and then it reads the MIDI from the top. I use a kick sample in Simpler as the trigger source, The output is set to “sends only” so it doesn’t send any audio – it only sends the trigger signal.
This setup gives you incredibly precise control over your sidechain timing and allows you to use any MIDI pattern you want, not just the audio from your actual kick drum.
⚡ Quick Take
- Use external instrument in rack as MIDI trigger for LFO Tool
- Kick sample in Simpler, high-pass at 800Hz, set to “sends only”
- Enable MIDI trigger mode in LFO Tool for precise control
My Tool Preferences and Why
For LFO Tool, I generally use the preset called “sidechain one” where I take the top right corner square and pull it a little bit to the left so we don’t have any clicks. With Kickstart you can still get some clicks which is annoying, especially in breakdowns where every detail matters.

If I need sidechain super fast, I’m using Kickstart. If I need something super precise, I’m using Shaper Box or LFO Tool, but I noticed with Shaper Box my volume just goes down when it is turn on (maybe I need to look into it, please comment if you know the solution), so LFO Tool and Kickstart are my go-to tools.

⚡ Quick Take
- Speed: Kickstart for quick setup
- Precision: LFO Tool (preferred) or Shaper Box
- LFO Tool: use “sidechain one” preset, adjust top right corner to avoid clicks
- Kickstart can cause clicks in breakdowns – be careful
💡 Try This Today
Open your current track and calculate the exact 1/16 note duration in milliseconds for your BPM (Ableton shows this in the bottom left). Set up your sidechain compressor with attack at 1ms, release at your calculated 1/16 duration, and use peak detection mode. High-pass your kick trigger at 800Hz and listen to the difference in clarity.

🎓 Take It Further
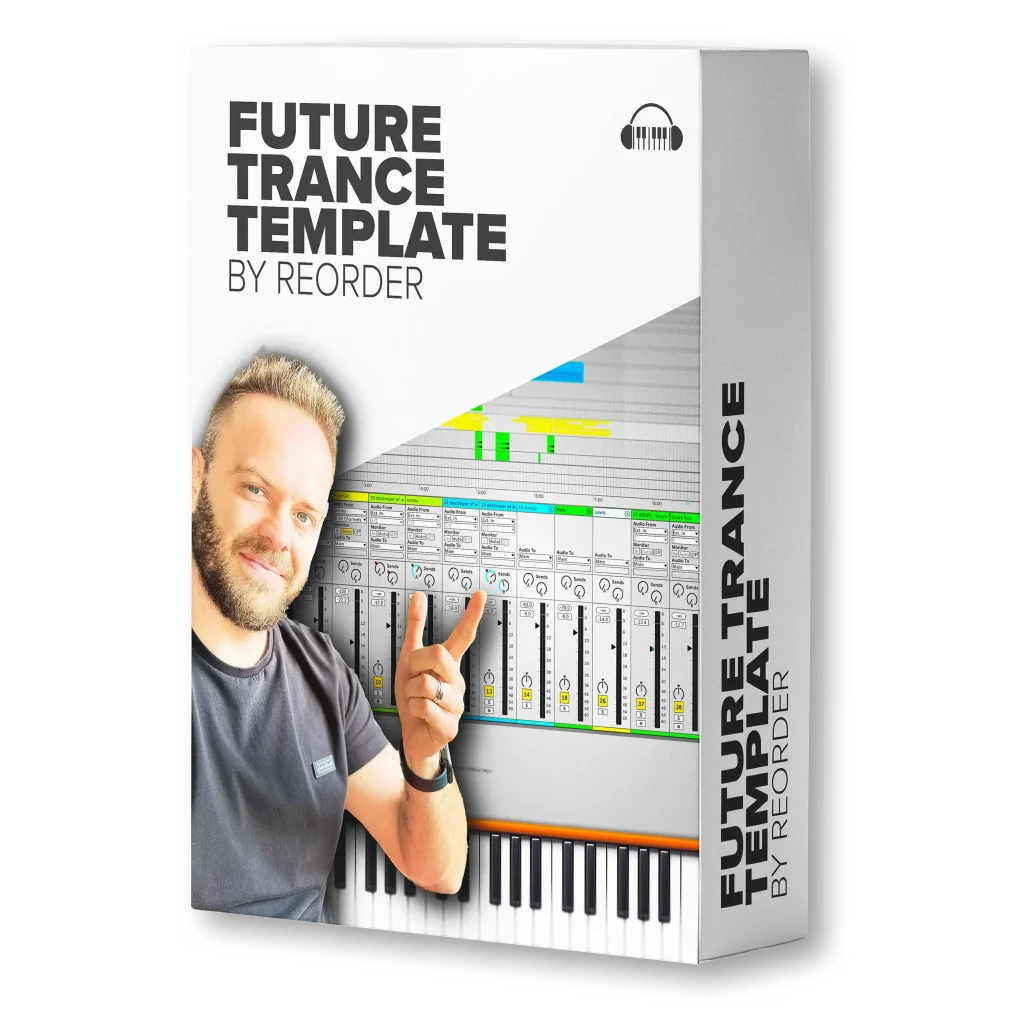
Pro Trance Template by ReOrder
The ultimate production toolkit born out of my SOLD OUT Pro Trance Masterclass. This state-of-the-art Ableton Live 12 project file gives you instant access to professional sound-design chains, arrangement techniques, mix-ready layouts and master-quality processing—effectively granting you music production superpowers!
Mastering sidechain compression is about understanding that it’s not just an effect – it’s a mixing tool that can make or break your track’s energy flow. Whether you’re using traditional compression or volume shapers, precision is everything. The difference between amateur and professional trance often comes down to these technical details that most producers overlook.
What’s your biggest challenge with sidechain compression? Are you getting the driving energy you want, or is something holding your tracks back? Drop a comment below and let me know what specific areas you’d like me to dive deeper into!
Tibor/ReOrder