Your master sounds quiet next to commercial trance releases. Your limiter is already pushing 4 dB of gain reduction. Pushing it harder turns everything to mush.
So what do the pros do?
They don’t push the limiter harder. They make the track LOUDER BEFORE the limiter — and they do it with one move that almost nobody talks about because it sounds boring.
That move is multiband upward compression. Or, more specifically, parallel multiband saturation tuned to add density to the mid-range without making the master peak any higher.
Let’s have a look at why this works and how to do it.
Why your master is quiet
Loudness on a master isn’t about peak level. It’s about RMS — the average energy of the signal over time. Two masters can both peak at -1 dBTP, but one will sound 3 dB louder than the other because its average energy is higher.
To raise RMS without raising peaks, you need to do one of two things:
1. Compress the dynamic range (which is what your limiter is already doing)
2. Add harmonic content that fills out the spectrum — making the signal more energetic without changing the peaks
Most producers only do (1) and they hit a wall fast. Once your limiter is past 4-5 dB of gain reduction, you start losing transients and the master gets fatiguing.
The pros do BOTH. And the second one is what makes their masters sound enormous without sounding squashed.

The actual technique
In Ozone 11 (or any multiband saturator), set up 3 bands:
- Low: 0 to 200 Hz
- Mid: 200 Hz to 4 kHz
- High: 4 kHz to 20 kHz
Apply different saturation per band:
- Low: Tape saturation, very subtle (1-2% drive). This adds warmth and fundamental thickness to the kick and bass.
- Mid: Tube or analog saturation, slightly more aggressive (3-5% drive). This is where most of the perceived loudness comes from.
- High: Tape saturation, very subtle again (1-2%). This adds air without harshness.
Run this BEFORE your final limiter. The saturation adds harmonic content (mostly even-order harmonics) that fills out the spectrum, raises RMS, and DOESN’T add peaks because saturation is already a soft-clipping process.
Result: your limiter can do less work, your master sounds 2-3 dB louder, and nothing is crushed.
This is one of the techniques the full Ozone 11 mastering course walks through in detail, with audio examples and chain presets — but the principle here is what matters most.

The order of operations
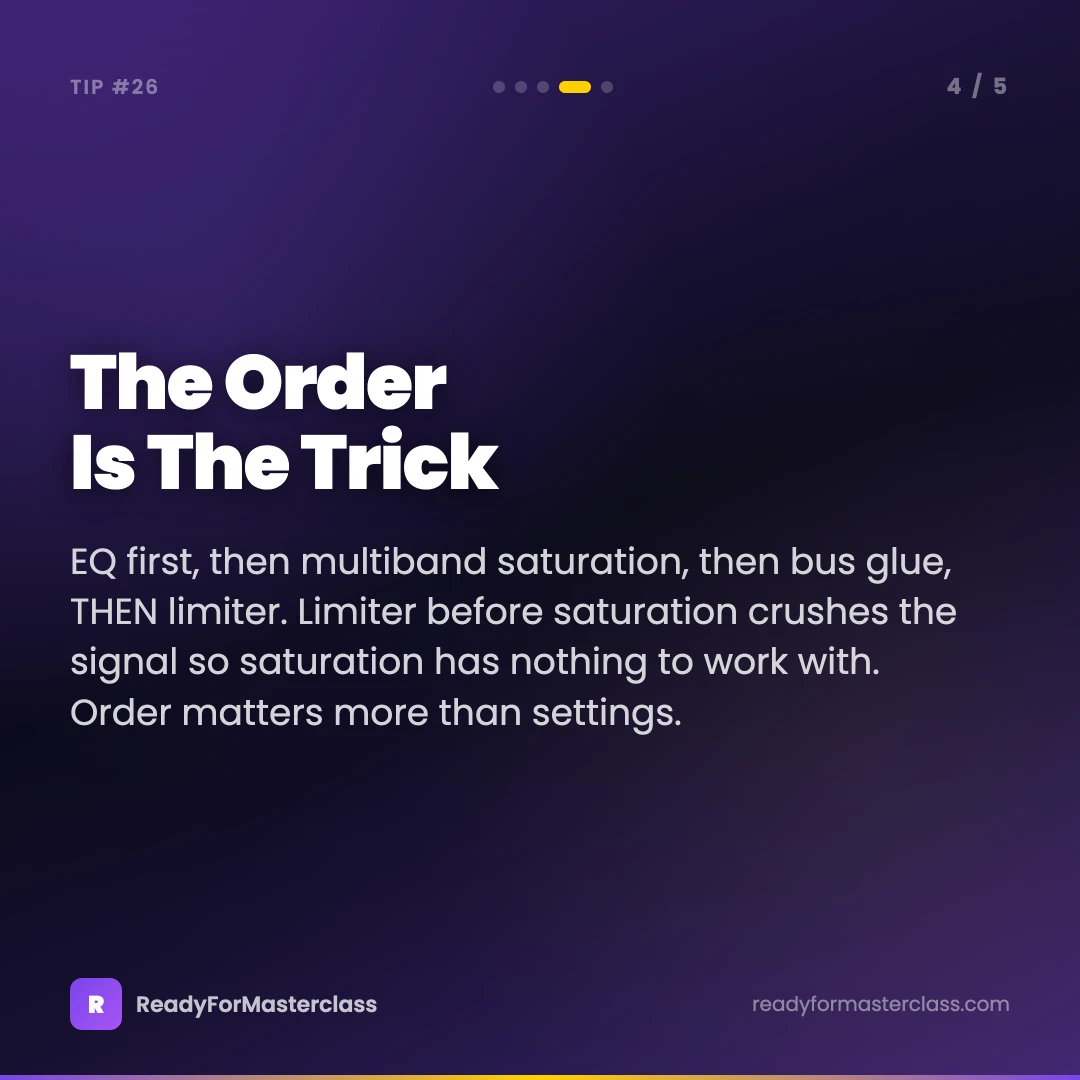
The reason this works is order. You’re doing things in a specific sequence:
- EQ — fix tonal balance issues first. Don’t add saturation to a master that has problems.
- Multiband saturation — add harmonic density per band as described above.
- Bus compression — light glue (1-2 dB GR max). Just for cohesion.
- Limiter — final loudness control. With the saturation already in place, you’ll need 2-3 dB LESS limiting to hit the same target loudness.
If you put the limiter before the saturation, you’ve already crushed the signal and the saturation has nothing to work with. Order matters.
What “perceived loudness” actually means
Two technical points worth understanding:
Perceived loudness is not the same as peak loudness. Two masters with the same peak level can sound dramatically different in volume because human hearing is sensitive to mid-range frequencies (2-5 kHz especially). A master with more energy in that range will sound louder even at identical peak levels.
Saturation makes things sound louder than they measure. Distortion adds harmonics in the upper octaves. Even a tiny amount of saturation makes the listener’s ear perceive more loudness, more presence, more “now” — without the meter changing much.
That’s why old vinyl masters sounded so loud despite their narrow dynamic range. The mastering engineer was running everything through tape and a tube console, and that saturation added perceived loudness without raising the peak.
You can do the same in Ozone in 30 seconds.
The check before you bounce
Before you commit your master, run these quick checks:
- A/B against a reference. Pull up a commercial track in the same genre, level-matched. Switch back and forth. Yours should be in the same loudness ballpark and not lose detail.
- Mono check. Sum the master to mono. The kick and bass should still be punchy. If they disappear, you’ve got phase issues.
- Listen on headphones AND speakers. Especially small speakers (laptop, phone) — that’s where most people listen. A great master translates everywhere.
- Don’t trust your eyes. The waveform looking “loud” doesn’t mean it sounds loud. Trust your ears and your reference track.
Try it on a finished mix
Pick a recent track where you wished the master was louder. Set up the 3-band saturation chain before your limiter. Subtle drive on the low and high bands, slightly more on the mid. Pull the limiter input down by 2 dB to compensate.
Bounce. A/B against the previous master.
You’ll hear it in 5 seconds. Same peak loudness. More density. More punch. More finished.
That’s professional mastering in one move.

P.S. — If you want the complete chain, settings, and walkthrough for trance mastering with Ozone 11, the full course with Jan Kristal is €59.99 — includes the exact presets I use on my own releases.