From Empty Room to First Mix: How I Tamed a New Room Fast (and Cheap)
 ReOrder
·Oct 13, 2025
·4 min read
ReOrder
·Oct 13, 2025
·4 min read
Hey guys—quick life update first. I’ve been a little quiet on YouTube and email because we moved from our apartment into a new house. 🎉 That also means I’m building a brand-new studio from scratch (still in progress). New room = new acoustic chaos, so I had to set it up fast enough to keep working.
If you’re just starting with music production, one of the best things you can focus on is the sound of your room. If you’re lucky enough to have a room of your own, you can do a lot on a small budget and get a space that’s actually fun to create in.
Below is exactly what I did—kept in my own words and experience—plus a few extra tips at the end.
The Problem With Fresh, Empty Rooms
Empty rooms are echo factories—lots of slap, long tails, and weird resonances. You want to reduce that fast so what you hear is closer to the truth.
Day 1 reality: I needed to work on music immediately. No budget, no panels yet.
- Rolled out a carpet on the floor.
- Hung towels and blankets around the room.
- Even draped blankets over cardboard boxes to break up reflections.
It wasn’t perfect, but within an hour the room was decent enough to write and make decisions.
Tip: If you walk into a brand-new room and it sounds like a cave, soft surfaces + coverage beat perfection. Start messy, then improve.
Budget Options That Actually Work
Once I could breathe, I started improving things—still cheap, still fast.
Option 1: Off-the-shelf foam panels
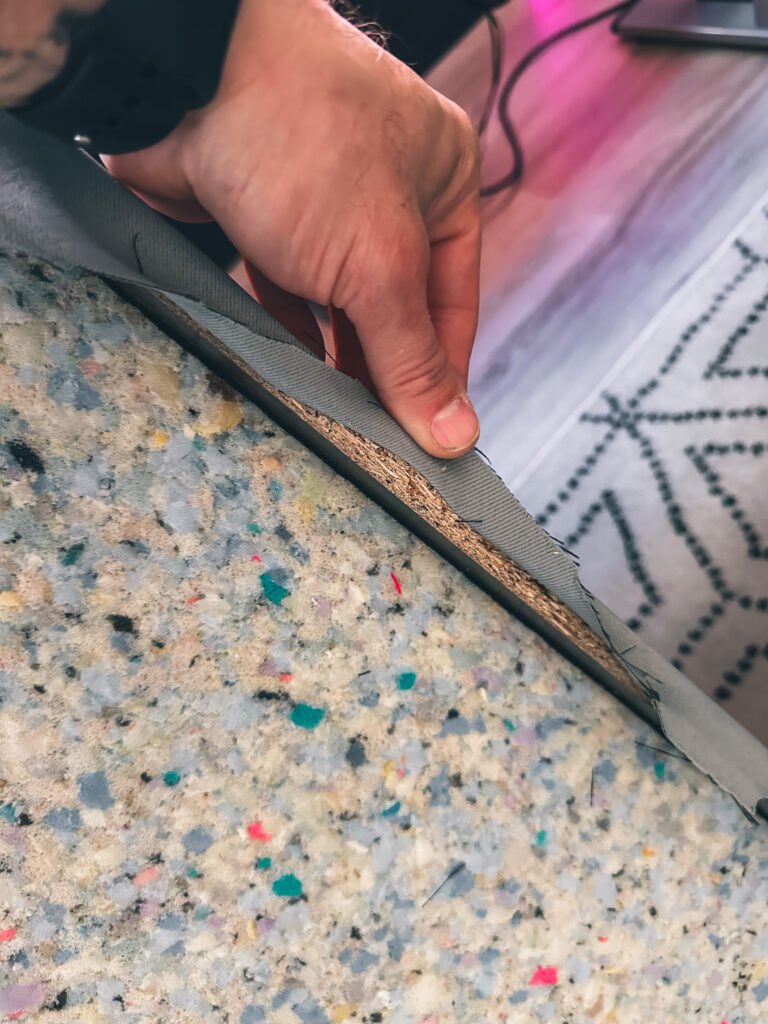
Grab simple foam panels (the common ones or triangular/egg-crate styles) from a local store. They usually cost about €15–€25 per piece and help tame flutter and early reflections. Of course they don’t usually look pretty as they come from the store so it’s good to put them into a wooden frame and wrap in breathable fabric so the room doesn’t look like a rehearsal bunker. What counts as “acoustic fabric”? Anything breathable. Cotton is great. If you can blow air through it, sound can pass through it too.

My DIY Panels (What I Actually Built)
- I bought cheap curtains from a supermarket (really).
- Got wood cut to size at a hardware store and screwed frames together at home.
- Staple-gunned the fabric (curtains) onto the frames.
- Hung a couple of these around the room while the full studio was still being built.
Results? Honestly impressive—and it looks pretty dope too. The room calmed down, the stereo image snapped into place, and I could trust my decisions much more than on day one.

What’s Next
I’m still building the full studio, but this quick path—from carpets and blankets to DIY framed panels—made the space workable fast. If you’re in the same boat, try this order:
- Day one: Soft stuff (carpet, blankets, towels).
- Next: First-reflection fixes (temporary fabric/foam where it matters most).
- Then: DIY framed panels with breathable fabric.
- Later: Corner bass traps and a ceiling cloud when time/budget allow.

Join My Small Q&A (20 Seats)
I’m hosting a special Q&A for 20 people where you can ask anything about music production—mixing, arrangement, sound design, finishing tracks, room treatment… whatever you need.
BONUS: Extra Tips That Helped Me (Quick Wins)
- Speaker & seat placement: Start with your chair about 38% of the room length from the front wall. Form an equilateral triangle with your speakers and keep everything symmetrical.
- First reflections: Use the mirror trick on side walls (and ceiling if possible). Where you can see the speaker from the mix position in a mirror is where you need absorption.
- Keep it breathable: If fabric isn’t breathable, it’s just a reflector. Cotton, linen, burlap = good.
- Decouple monitors: Use foam pads or stands so vibrations don’t rumble through your desk.
- Corners are bass magnets: Even temporary corner fills (rolled blankets/mineral wool) help until you build proper traps.
- Don’t over-deaden: Aim for controlled, not dead. A bookshelf with uneven depths works as casual diffusion.
- Ceiling cloud later: A simple framed absorber above the desk tightens the stereo image a lot.
- Upgrade path: DIY panels → real bass traps → ceiling cloud → tasteful diffusion.
Love you all,
Tibor / ReOrder