Here’s your cleaned-up version of the article, with all code removed and image tags replaced by visible high-resolution images that will display properly in the WordPress editor:
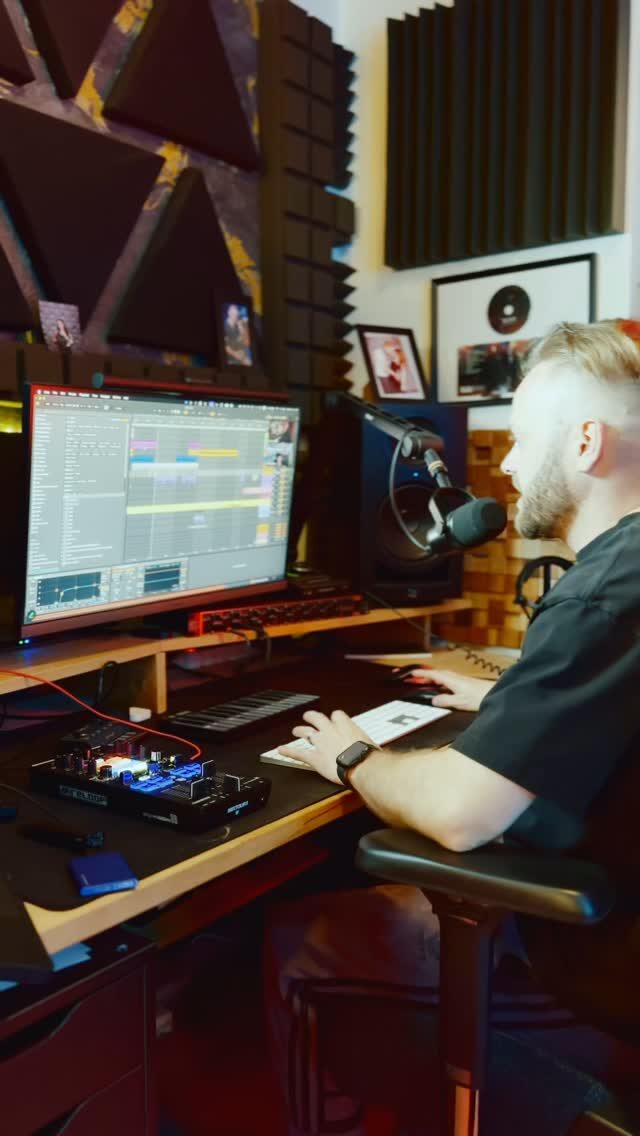
Today, we’re diving deep into one of the most powerful tools in music production: the equalizer, or EQ. Whether you’re just starting or you’ve been dabbling in music production for a while, understanding how to use an EQ effectively can transform your tracks from amateur to professional. So, let’s get a pen and paper and get ready to massively increase your knowledge on EQs.
What is an Equalizer?
Imagine you’re at a party, and the music is blasting. You notice that the bass is too boomy, or the vocals are too soft. An equalizer is like a magic remote control that lets you adjust the volume of different parts of the sound. It’s an essential tool in your music production toolkit that helps you balance and shape the sounds in your track.
The Basics of Sound Frequencies
Before we get into the nitty-gritty of EQ, let’s talk about sound frequencies. Think of sound as waves traveling through the air. These waves can be fast or slow, and we measure them in Hertz (Hz).
- Low Frequencies (Bass): These are the deep, rumbling sounds you feel in your chest, like the thump of a kick drum or the rumble of a bass guitar. They range from about 20 Hz to 250 Hz.
- Mid Frequencies (Mids): These are the sounds in the middle of the spectrum, like vocals and guitars. They range from about 250 Hz to 4,000 Hz.
- High Frequencies (Treble): These are the bright, sparkly sounds, like cymbals and hi-hats. They range from about 4,000 Hz to 20,000 Hz.
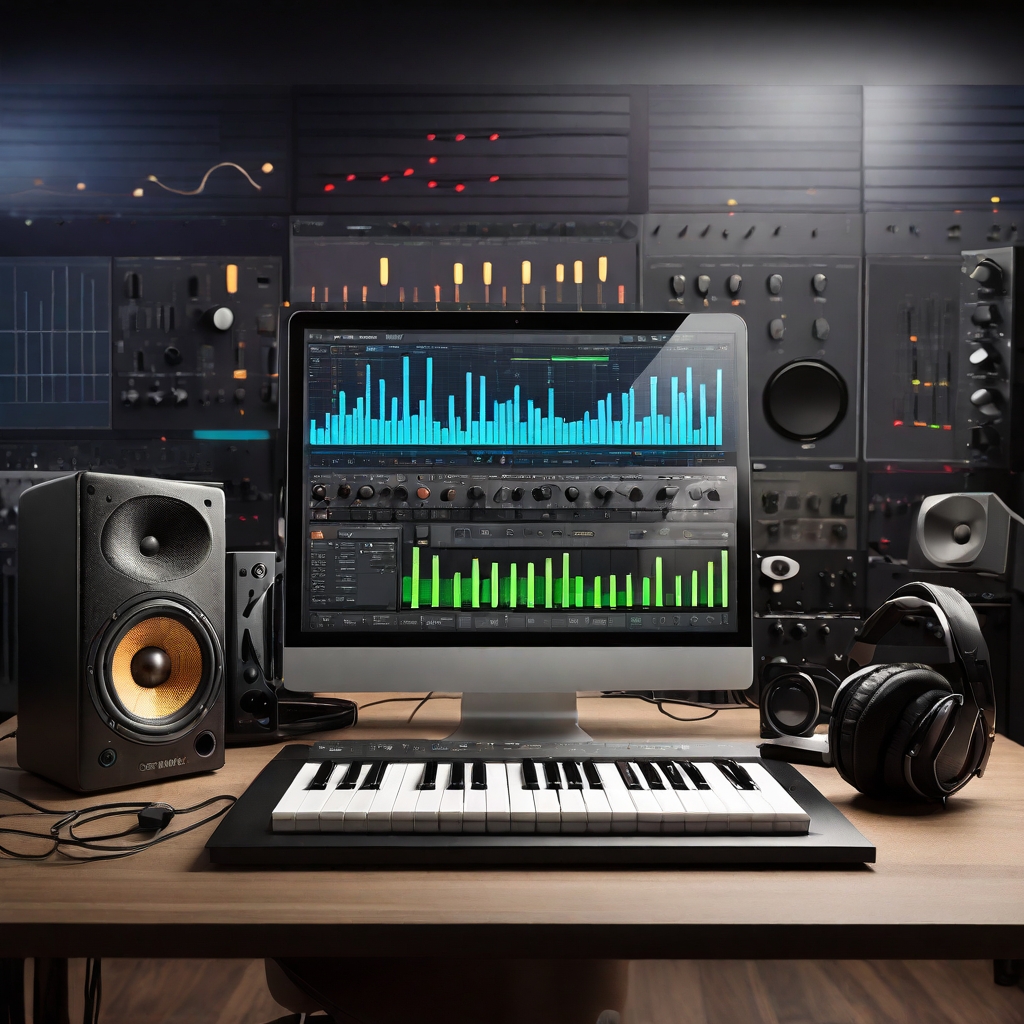
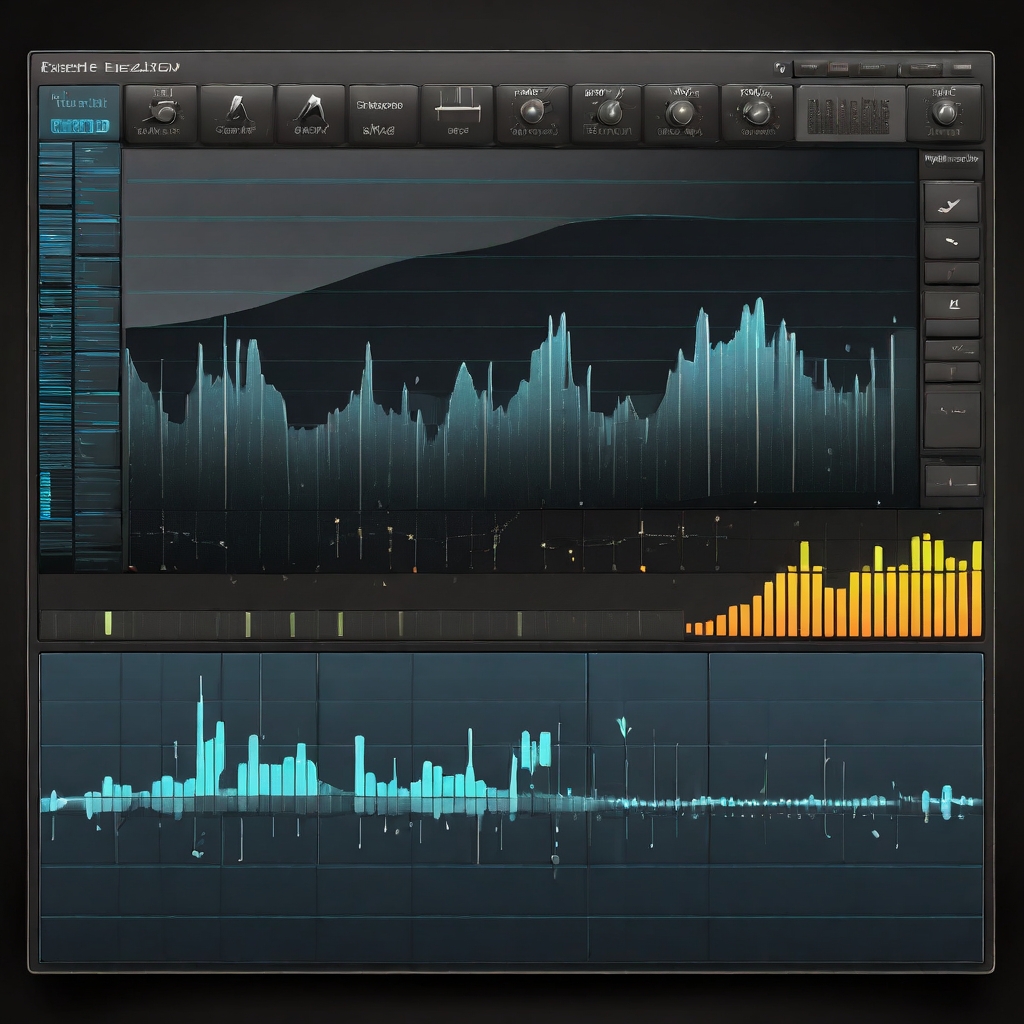
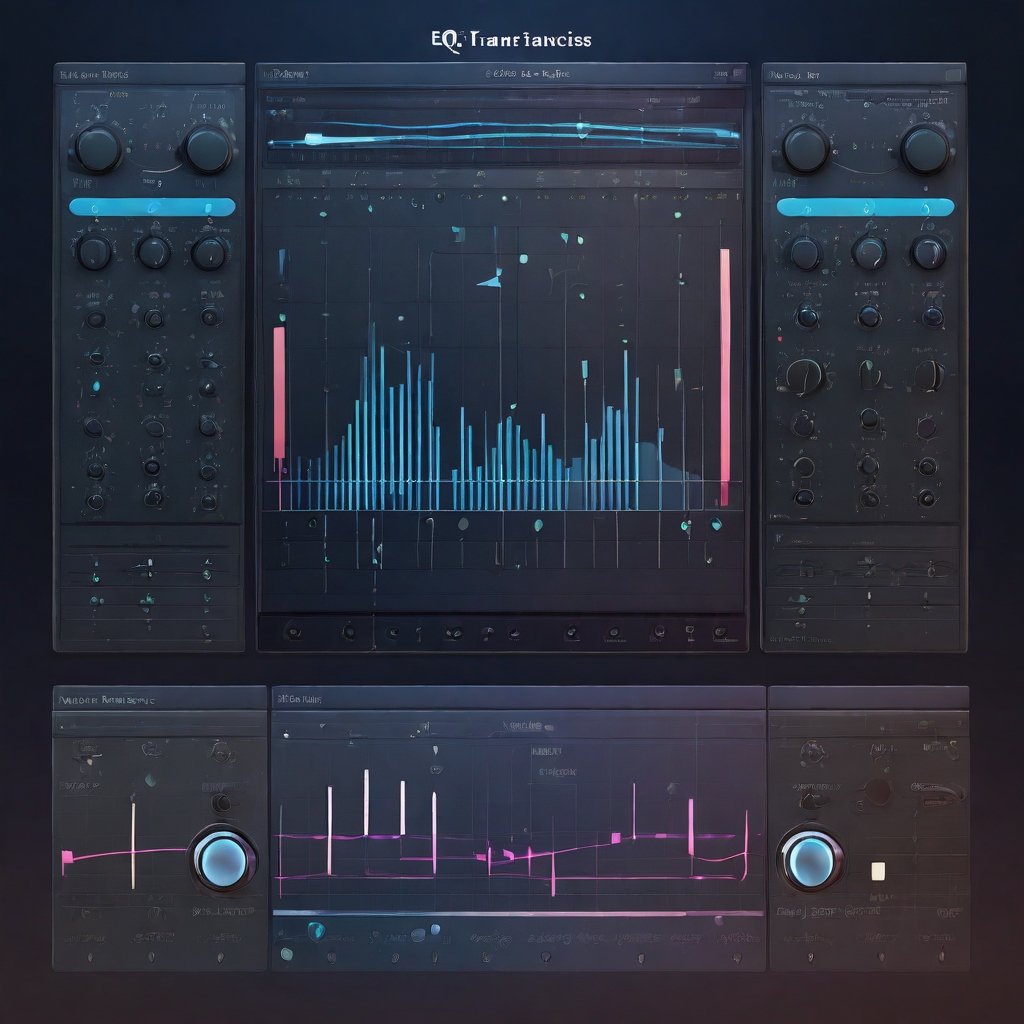
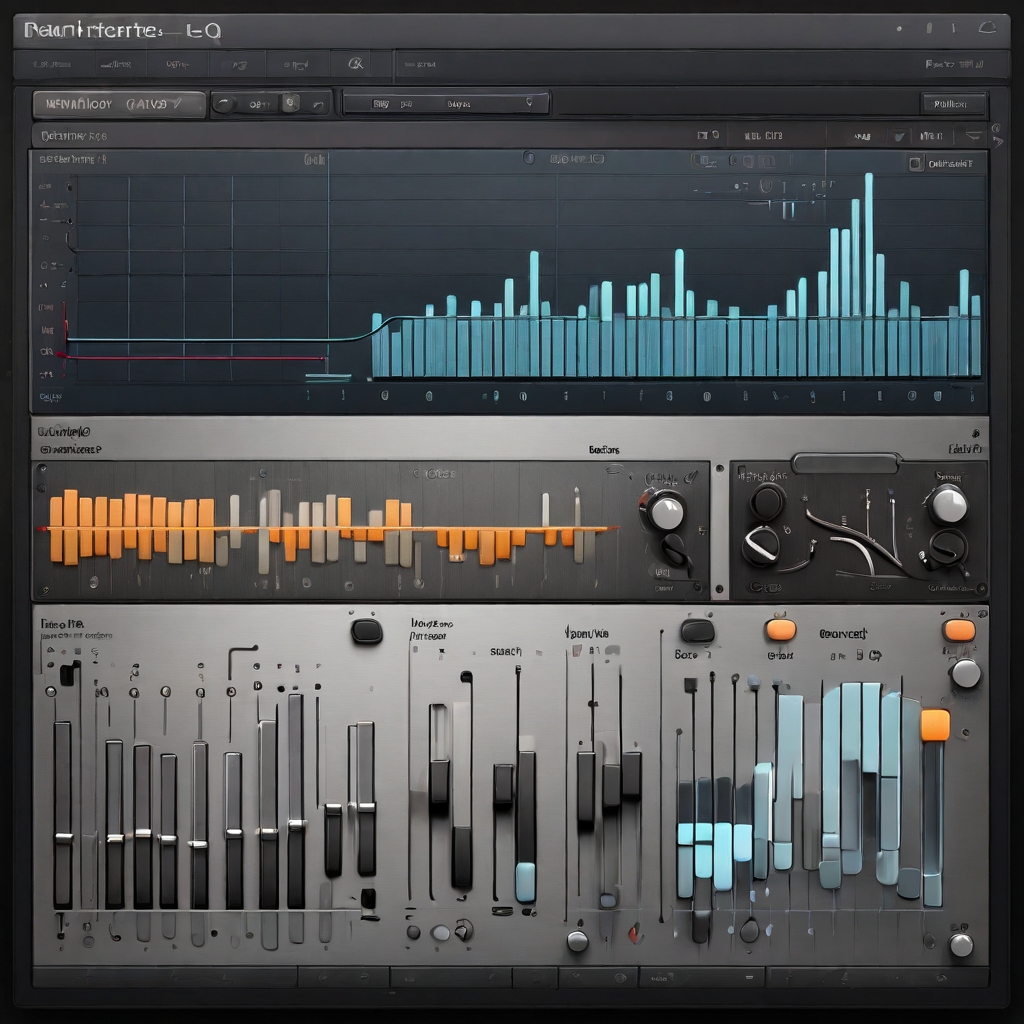
Understanding Your EQ Tool
When you open an EQ plugin in your Digital Audio Workstation (DAW), you’ll see a graph with a line running across it. This graph represents the frequencies of your sound from left (low) to right (high). The line shows the volume of each frequency.
Common EQ Controls
- Bands: Points on the EQ line you can move to adjust volume of specific frequencies.
- Gain: Controls how much you boost or cut a frequency.
- Q (Bandwidth): Controls how wide or narrow the adjustment is.
- Filters:
- Low-pass filter: Cuts high frequencies.
- High-pass filter: Cuts low frequencies.
- Band-pass filter: Cuts outside a specific range.
Step-by-Step Guide to Using EQ in a Trance Track
Step 1: Clean Up Your Sounds
Think of this like clearing clutter before decorating:
- High-Pass Filter on Non-Bass Instruments: Remove lows from vocals, synths, etc. (100–200 Hz).
- Example: Lead synth → HPF at 150 Hz.
- Low-Pass Filter on Non-Treble Instruments: Remove highs from kicks, basses (around 5,000 Hz).
- Example: Bass → LPF at 4,000 Hz.
Step 2: Carve Out Space for Each Element
EQ helps prevent frequency clashes:
- Kick and Bass:
- Boost kick 50–100 Hz, cut bass there.
- Boost bass 100–250 Hz, cut kick there.
- Lead Synth and Vocals:
- Boost synth 1,000–3,000 Hz.
- Carve space for vocals 2,000–4,000 Hz.
Step 3: Add Character and Shine
- Warmth: Boost 250–500 Hz.
- Example: Pads → +300 Hz.
- Clarity: Boost 3,000–6,000 Hz.
- Example: Vocals → +4,000 Hz.
- Air: Boost 10,000 Hz+.
- Example: Hi-hats → +12,000 Hz.
Step 4: Check Your Mix
- Compare with Reference Tracks
- Listen on Different Systems
Common EQ Mistakes and How to Avoid Them
Overboosting Frequencies
Too much boost = harsh mix. Try cutting instead.
- Example: Cut low-mids to highlight high-mids.
Not Using High-Pass and Low-Pass Filters
- Example: HPF on hi-hats to remove rumble, LPF on bass to smooth highs.
Ignoring the Q Factor
- High Q = precise adjustment.
- Low Q = broad adjustment.
- Example: Narrow cut for harshness, wide for tone shaping.
Advanced EQ Techniques
Dynamic EQ
Applies EQ only when needed.
- Example: Tame sibilance in vocals with dynamic EQ.
Mid/Side EQ
Adjust mid and side separately.
- Example: Boost highs on sides for width, keep mids centered.
Practical EQ Exercises
Exercise 1: EQ a Kick Drum
- Load sample
- LPF above 5,000 Hz
- Boost 50–100 Hz
- Cut 250–400 Hz if muddy
Exercise 2: EQ a Bassline
- Load bass
- HPF below 20 Hz
- Boost 100–250 Hz
- Cut 300–500 Hz if thick
Exercise 3: EQ a Lead Synth
- Load synth
- HPF below 150 Hz
- Boost 1,000–3,000 Hz
- Boost 10,000 Hz+ for sparkle
Wrapping Up
Congratulations! You’ve just taken a deep dive into EQ and how to use it in trance production. EQ is both art and science. Here’s a quick recap:
- Frequencies: Low, mid, high
- EQ Controls: Bands, gain, Q, filters
- EQ Guide: Clean-up, carve space, add shine, check mix
- Avoid Mistakes: Don’t overboost, always filter, use Q wisely
- Advanced Tips: Dynamic & Mid/Side EQ
- Practice Exercises: Kick, bass, synth
Feel free to experiment and trust your ears. Happy producing, and may your trance tracks shine with perfectly balanced frequencies!