Insight from ReOrder & Jan Kristal’s actual mastering mindset—enough to level you up, not enough to replace the full masterclass.
Why Most Masters Fail Early
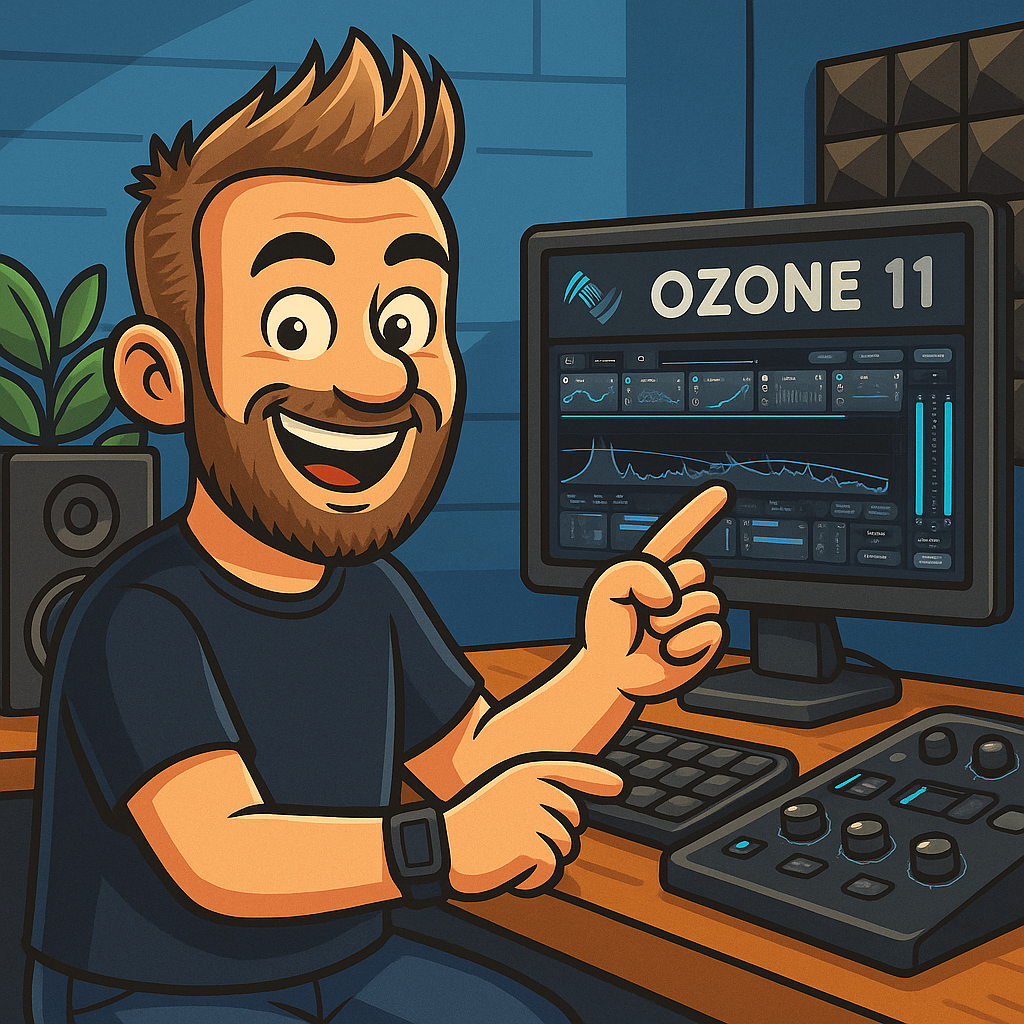
Professional trance masters don’t rely on presets or luck. They follow a deliberate process. Below are the core principles Jan Kristal and ReOrder apply when taking a trance track into iZotope Ozone 11. This isn’t the full system (that’s in the masterclass), but it’s enough to expose common traps and give you leverage.
A loud, polished trance track doesn’t happen by pushing a preset and cranking a limiter. It’s the result of a deliberate chain: monitoring, sequencing, tonal decisions, dynamic control, and the discipline to fix problems before amplifying them. In this post, you get the six foundational principles Jan Kristal and I apply inside iZotope Ozone 11 when we master a ReOrder trance production. These are the mindset and tactical entry points—what usually trips people up and what professional masters start with. The full session, with exact order, reasoning, and “why we do it this way” is in the course, but this gives you tangible leverage immediately.
1. Loudness with Purpose
Trance demands energy, but loudness without control destroys articulation and causes listening fatigue. The first move is not “make it loud,” it’s “define what loudness means for this track.” That’s selecting an appropriate LUFS target based on genre expectations and reference material, then using Ozone’s metering tools to approach it methodically.

Rather than slamming a maximizer and hoping for the best, you build toward perceived loudness while watching how the track breathes over time. You compare against commercial trance tracks to calibrate your ear—not to copy numbers, but to internalize how loudness feels when balance and musicality are intact.
Quick checklist:
- Reference trance masters for perceived loudness and balance.
- Use Ozone’s integrated/short-term meters—don’t rely on a single instant reading.
- Apply loudness increases as the final step, after fixing tonal/dynamic issues.
- Trust your ears: toggle between your track and reference to avoid over-compression.
2. Tame the Low End First
The low end is the foundation of trance; if it’s unsettled, nothing else holds. The process starts with isolating and evaluating kick and bass interaction—often in mono—to detect clashes, muddiness, or hidden buildup. Jan emphasizes that you need control before enhancement: aggressive harmonic excitation or widening in the low frequencies can mask problems and collapse the mix on different systems.
You can use precise corrective EQ or narrow-band dynamic control to catch and tame problematic resonances or build-ups. Only once the low end is balanced, controlled, and stable do you allow it to sit confidently under the rest of the spectrum. The goal is a low end that’s powerful and present without bleeding into the mids or distorting when loudness is applied.
Quick checklist:
- Check kick/bass in mono to ensure focus and prevent phase cancellation.
- Use dynamic correction to pull down frequency collisions only when they occur.
- Avoid early harmonic excitement on sub/bass unless there’s a clear purpose.
- Verify that the low end remains tight when transitioning between stereo and mono.
3. Chain Order Matters
Mastering is a chain of decisions. The order in which you place EQ, dynamics, transient shaping, stereo tools, and limiting is not arbitrary. Jan’s workflow—translated into Ozone 11—follows a logical progression: first deal with corrective and dynamic EQ to neutralize problematic frequency behavior, then shape the track’s transient definition and clarity, follow with spatial placement (width/imaging), and finally apply global dynamics and loudness control.
Pushing loudness too early locks in issues. You want the maximizer to be the last “finish” after the tonal, dynamic, and spatial picture is coherent. Periodically bypass stages and reevaluate upstream changes—this keeps you from compounding errors and lets every module breathe with context.
Quick checklist:
- Start with dynamic/corrective EQ to tame resonance and balance frequency motion.
- Define transients and clarity before broad compression.
- Apply stereo shaping before final loudness adjustments, but after tonality is settled.
- Maximize loudness last, once the mix feels musically consistent.
4. Stereo Width Without Leakage

Width gives trance its immersive quality, but careless widening can introduce phase issues or cause low-end instability. Jan uses width enhancement while continuously monitoring correlation and ensuring the low end stays centered and unaffected. Mid/side awareness—knowing what lives in the center versus the sides—helps expand without losing core energy. If the stereo expansion collapses in mono or causes smearing, it’s too aggressive.
Widening is also contextual: not all elements should be equally wide. Strategically pushing pads or high-end FX while keeping the heavy low and center elements focused yields spaciousness without weakening the track’s spine.
Quick checklist:
- Use correlation meters to check for phase issues during widening.
- Widen high/mid elements, keep low frequencies tight and centered.
- Toggle between stereo and mono to test stability of widened content.
- Balance perceived width with translation on club/mono playback systems.
5. Selective Harmonic Enhancement
Adding harmonic content can bring life and perceived detail, but it’s about surgical placement—not blanket saturation. Jan starts with excitement in upper content where it adds air, definition, and perceived loudness without muddying the mix. He avoids boosting harmonics in foundational regions that are already working; unnecessary harmonic energy in the low end or congested mids creates masking and conflicts.

Use band-limited excitation to give presence to synths and transient energy to percussion. The goal is clarity—harmonics that help elements cut through without sounding artificial or harsh.
Quick checklist:
- Target exciter usage to upper mids/highs—leave the low foundation clean unless required.
- Use subtlety: small amounts can have big impact when placed correctly.
- A/B between before/after harmonic enhancement to ensure it’s adding detail, not noise.
6. Pre-Master Discipline

Jan insists the mastering session begins long before the chain starts. Preparation includes proper gain staging on the mix, leaving sufficient headroom, exporting at high resolution (e.g., float formats), and ensuring no hidden clipping or processing artifacts are baked in. A compromised source undermines every downstream decision—the best mastering chain can’t recover a poorly prepared mix.
Check levels, export with consistent format, and load into Ozone as a clean pre-master. Knowing what has and hasn’t been done in the mix prevents redundant or conflicting processing in mastering.
Quick checklist:
- Clean gain staging—no hidden peaks or clipping.
- Export at sufficient bit depth/format to preserve fidelity.
- Double-check mix translation before starting the master chain.
- Document what was used in the mix to avoid overworking the same frequencies or dynamics again.
Want the Complete, Battle-Tested Workflow? In the full masterclass, Jan walks through an actual ReOrder trance track inside Ozone 11, showing every setting, every order decision, and the “why” behind it. Watch the course now and master trance with confidence.