Crafting the Perfect Pad Sound Using Sylenth1

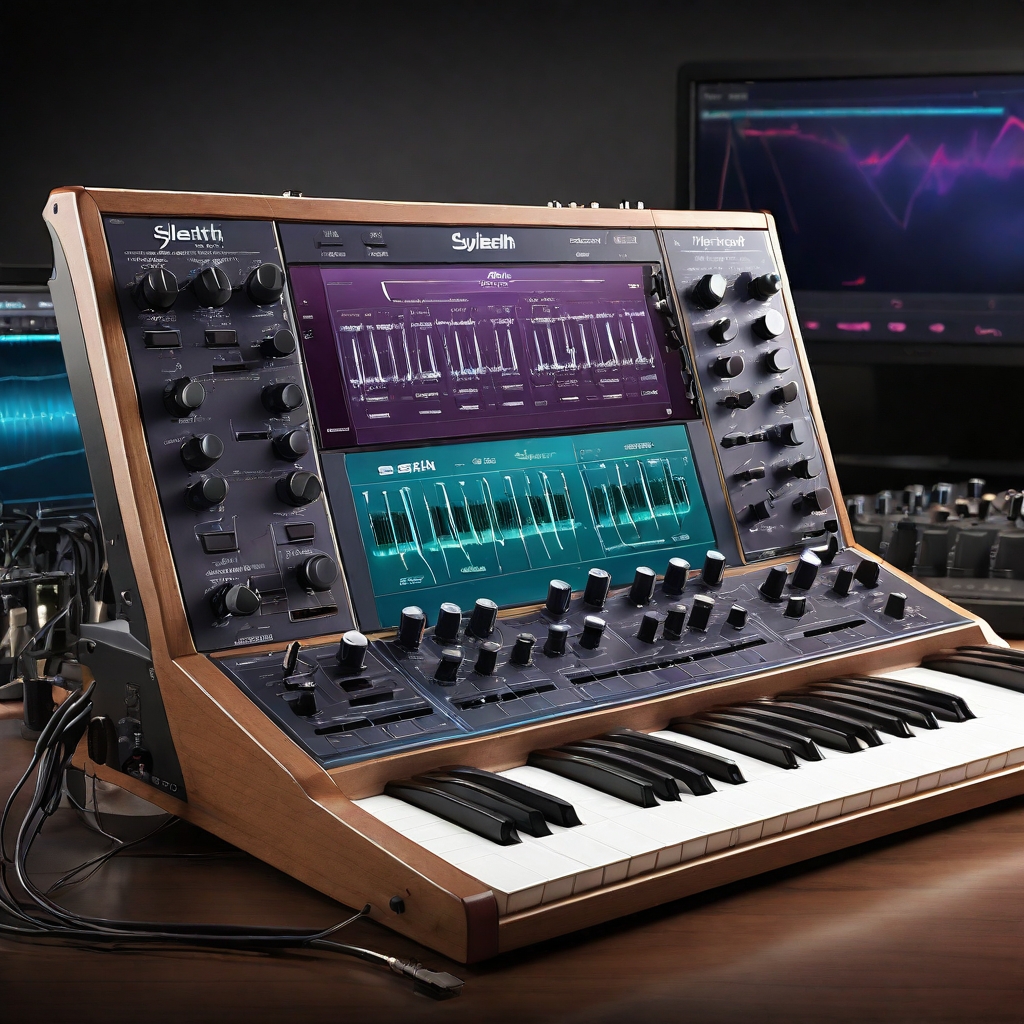
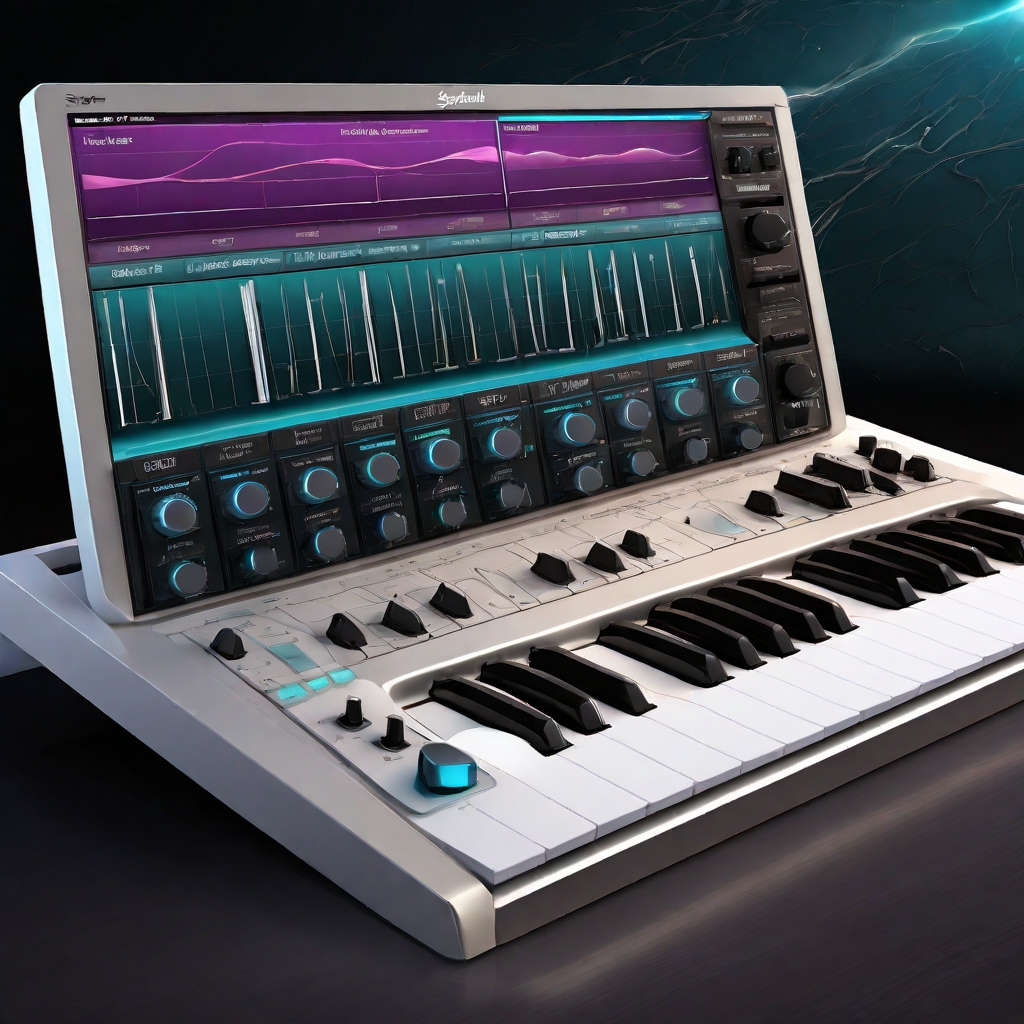
A synthesizer with headphones.

Hey future trance maestros! 🌟 If you’re diving into the world of trance music, you know that the dreamy, atmospheric pad sound is essential. It’s that lush background layer that fills out the track and sets the emotional tone. Today, we’re going to learn how to craft the perfect pad sound using Sylenth1, a powerhouse synthesizer loved by producers worldwide. Whether you’re new to music production or just new to Sylenth1, I’ve got you covered. Let’s get started!

What is a Pad Sound?

Think of a pad sound as the cozy blanket of your track. It’s the smooth, sustained sound that adds depth, warmth, and emotion. Pads are typically slow and evolving, making them perfect for creating a lush soundscape in your trance tracks.

Step 1: Setting Up Your Workspace

Setting Up Your Workspace

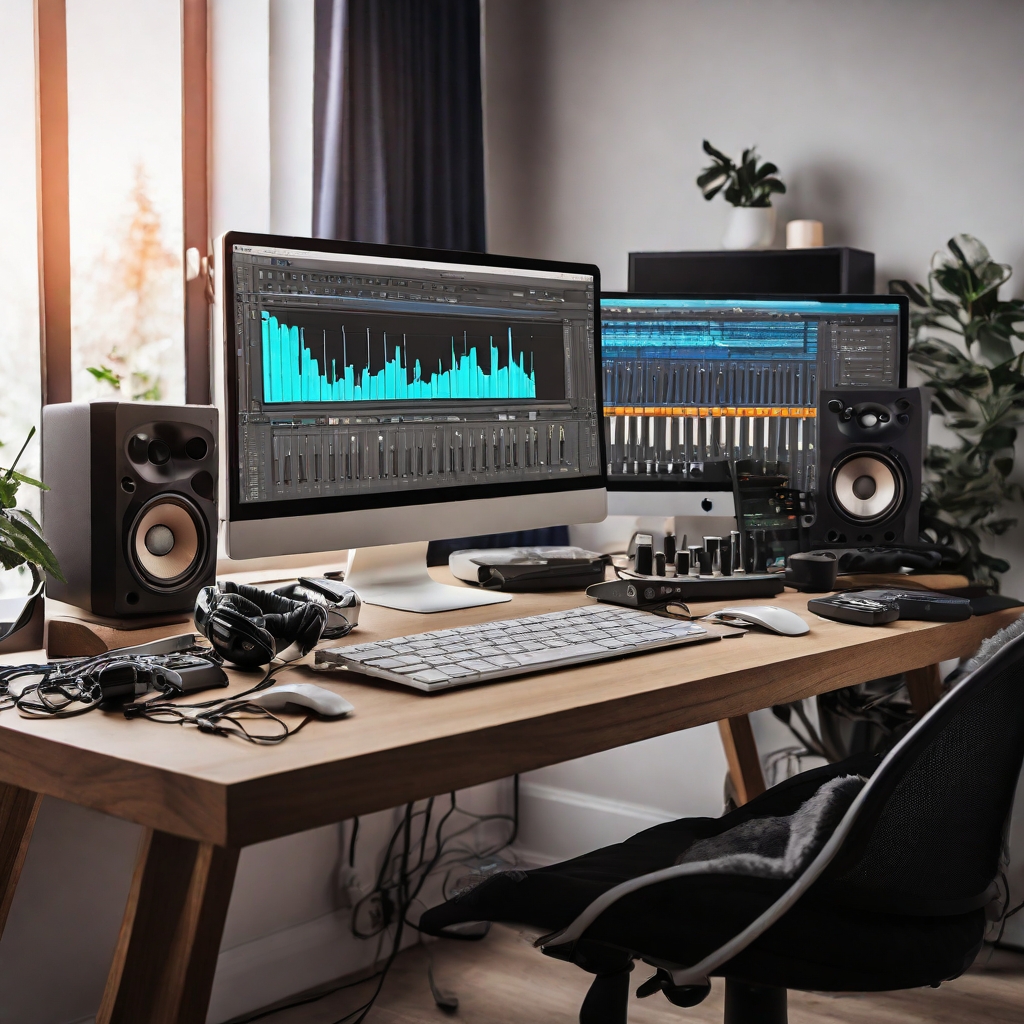
Before we dive into sound design, let’s make sure your workspace is ready for action.

Your Digital Audio Workstation (DAW)

A DAW is the software where you create your music. Popular choices include Ableton Live, FL Studio, Logic Pro, and Cubase. Choose the one that feels right for you.

Installing Sylenth1

To create our pad sound, you’ll need Sylenth1. Head over to the Sylenth1 website and download the plugin. Follow the installation instructions, and you’re all set.

Step 2: Understanding Sylenth1

Understanding Sylenth1

Sylenth1 is a virtual analog synthesizer that’s perfect for creating rich, atmospheric sounds. Let’s take a quick tour of its interface.

The Interface

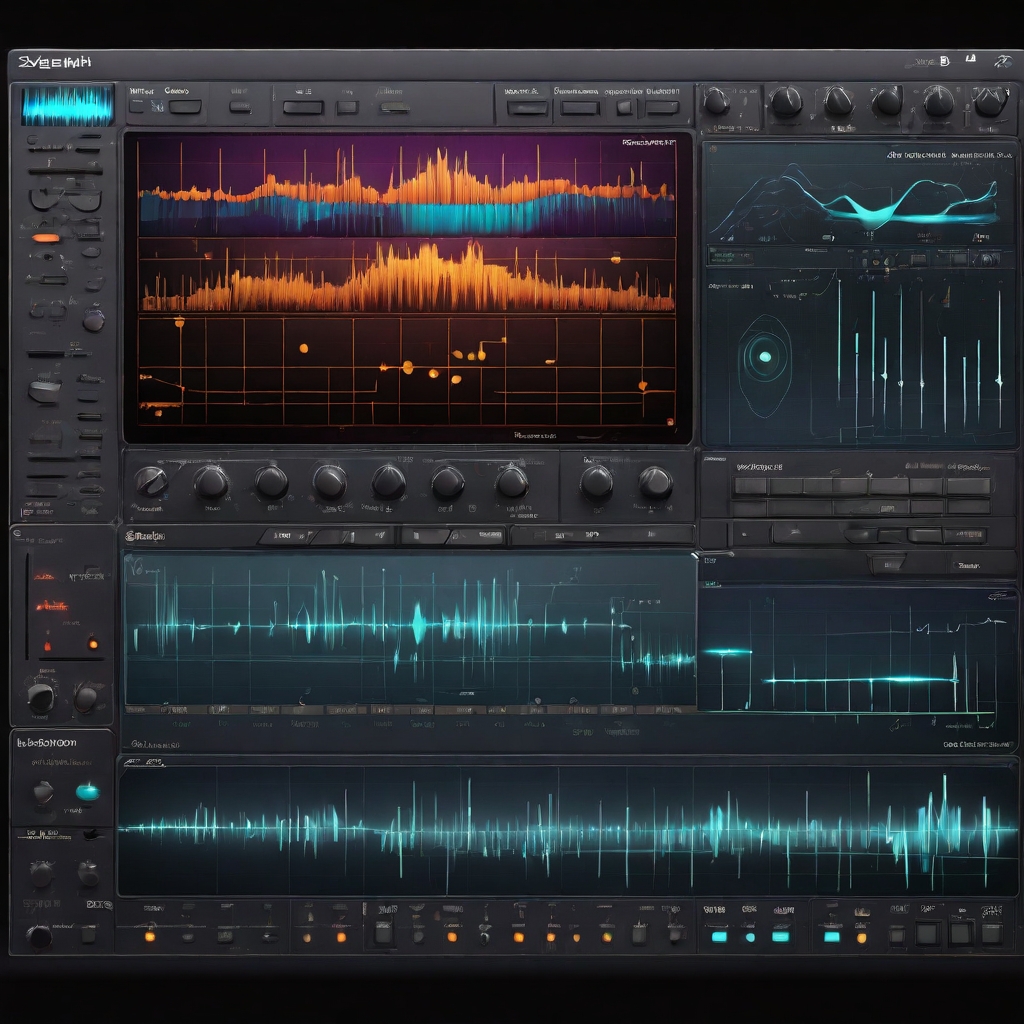
When you open Sylenth1, you’ll see several sections:

  1. Oscillators: These generate the basic sound waves.
  2. Filters: These shape the sound by removing certain frequencies.
  3. Envelopes: These control how the sound changes over time.
  4. LFOs: Low-frequency oscillators that modulate various parameters.
  5. Effects: These add polish and character to your sound.

Basic Controls

  • Oscillator A and B: Sylenth1 has two main oscillators, each with its own set of controls.
  • Filter Section: Includes controls for cutoff, resonance, and filter type.
  • Amp Envelope: Controls the overall volume envelope (ADSR: Attack, Decay, Sustain, Release).
  • Modulation Section: Includes LFOs and modulation envelopes for adding movement to your sound.

Step 3: Choosing the Right Sound

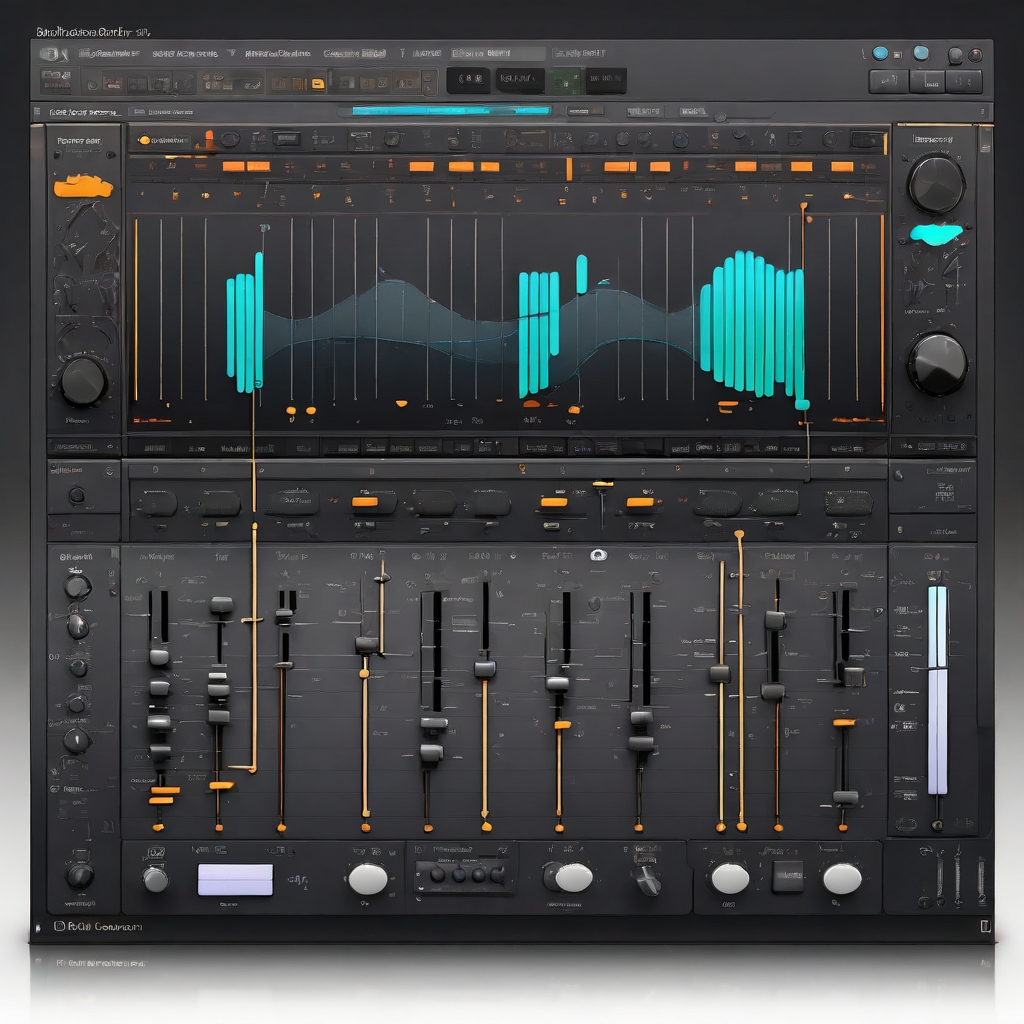
Choosing the Right Sound when crafting the perfect pad using sylenth1.

Step 3: Choosing the Right Sound

A good pad sound starts with the right waveforms. Here’s how to choose and shape them using Sylenth1.

Oscillators: The Building Blocks

An oscillator generates the basic sound wave. Different wave shapes produce different sounds:

  • Sine Wave: Smooth and pure.
  • Sawtooth Wave: Bright and buzzy.
  • Square Wave: Hollow and rich.
  • Triangle Wave: Smooth and mellow.

For a trance pad, start with a combination of sawtooth and square waves. This mix will give you a rich, full sound.

Layering Sounds

One oscillator might not be enough to get that full, rich sound. Layering multiple oscillators can add complexity and depth to your pad.

  1. Oscillator A1: Choose a sawtooth wave and set the voices to 8 for a lush sound.
  2. Oscillator A2: Add a square wave and set the voices to 8. Detune it slightly to create a warm, chorused effect.
  3. Oscillator B1: Choose a triangle wave for a smooth, mellow layer.
  4. Oscillator B2: Add another sawtooth wave, detune it, and set the voices to 8 for extra richness.

Experiment and Tweak

Play around with the settings. Adjust the volume of each oscillator and see how they blend together. This is your sound, so make it unique!

Step 4: Shaping the Sound with Filters


Shaping the Sound with Filters

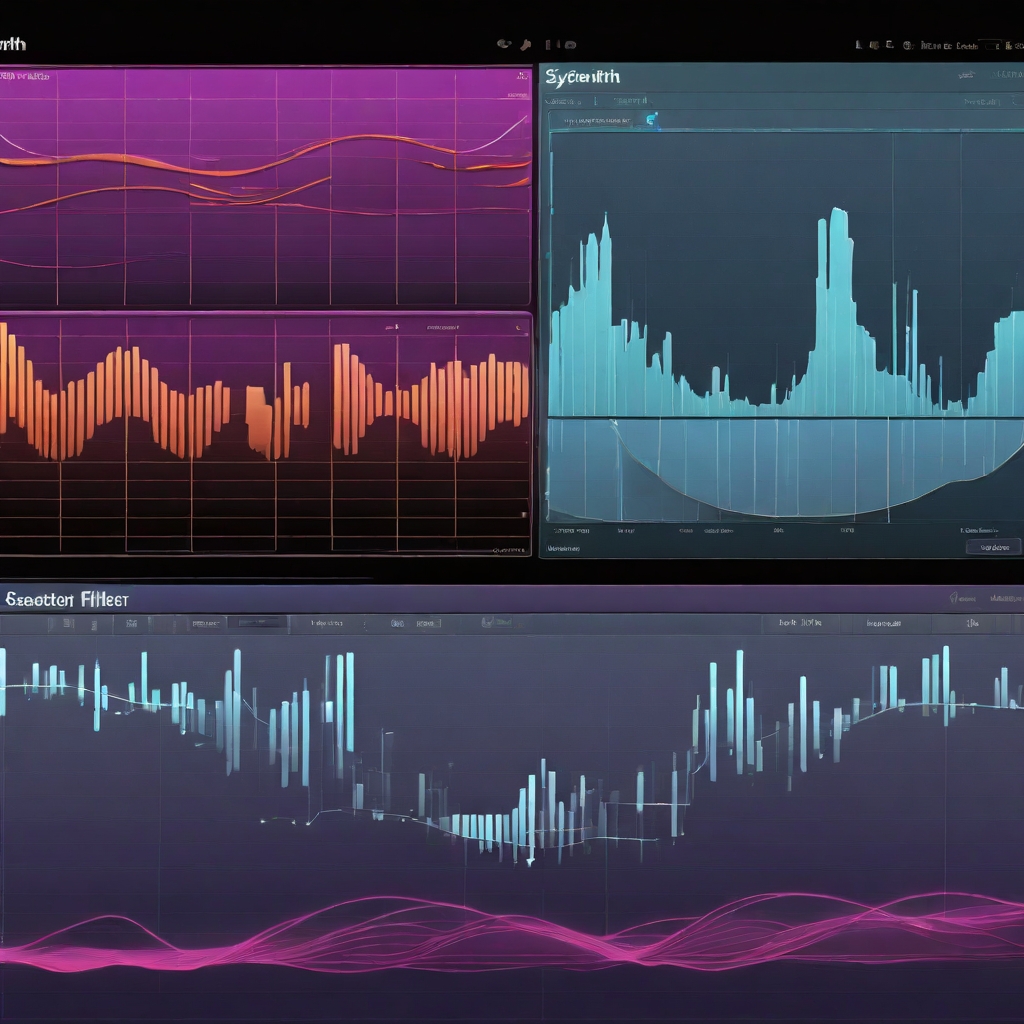
Filters are your secret weapon for shaping the character of your pad sound. They can make your pad smoother, brighter, or darker.

Types of Filters

  • Low-Pass Filter (LPF): Cuts off the high frequencies, making the sound smoother and warmer.
  • High-Pass Filter (HPF): Cuts off the low frequencies, making the sound thinner and brighter.
  • Band-Pass Filter (BPF): Allows only a specific range of frequencies to pass through.

For a trance pad, start with a low-pass filter. This helps tame the high frequencies and creates a smoother sound.

Filter Modulation

To add movement and interest to your pad, use filter modulation. This means changing the filter settings over time.

  1. Assign an envelope to the filter: An envelope controls how the sound changes over time. Start with a basic ADSR (Attack, Decay, Sustain, Release) envelope.
  2. Adjust the attack and decay: Set a slow attack and medium decay to create a smooth, evolving sound.
  3. Add resonance: Boost the frequencies around the cutoff point for a sharper, more defined sound.

Step 5: Adding Effects for Extra Spice

Adding Effects for Extra Spice

ffects are like the seasoning in a recipe. They can transform a good pad into an amazing one.

Reverb

Reverb adds a sense of space and depth to your pad.

  • Hall Reverb: Great for creating a large, spacious sound.
  • Plate Reverb: Adds a metallic, bright quality.

Start with a hall reverb and adjust the size and decay to taste. Be careful not to overdo it; too much reverb can make your pad sound muddy.

Delay

Delay creates echoes, adding complexity and rhythm to your pad.

  • Simple Delay: Repeats the sound at regular intervals.
  • Ping-Pong Delay: Alternates the echoes between the left and right channels, creating a stereo effect.

Set a delay time that matches the tempo of your track (e.g., 1/4 or 1/8 notes). Adjust the feedback and mix to add just the right amount of echo.

Chorus

Chorus thickens your pad by adding slight variations in pitch and timing.

  • Depth and Rate: Control the intensity and speed of the effect.

A subtle chorus effect can make your pad sound fuller and more lush.

Step 6: Writing the Chord Progression

An image symbolizing chord progressions

Now that we have a killer pad sound, it’s time to write the chord progression. This is where your creativity really shines.

Basic Music Theory

Don’t worry; you don’t need to be Mozart to write a great chord progression. Here are some basics:

  • Key: Choose a key for your track (e.g., A minor, C major).
  • Chord Progression: Use chords within the key to create your progression.

Crafting a Catchy Progression

A good trance pad needs a smooth, flowing chord progression that supports the lead melody. Here are some tips:

  1. Start simple: Begin with a basic chord progression (e.g., I-IV-V-I).
  2. Use inversions: Invert some of the chords to create smoother transitions.
  3. Add extensions: Use seventh and ninth chords for a richer sound.

Rhythm and Groove

The rhythm of your chord progression is just as important as the notes. Experiment with different note lengths and placements to create a compelling groove.

Step 7: Layering and Enhancing Your Pad

Layering and Enhancing Your Pad

To make your pad sound even more powerful, consider layering it with other sounds.

Additional Layers

  1. Octave Layer: Add a second pad an octave higher or lower. This adds richness and depth.
  2. Supporting Harmonies: Create harmonies that complement the main chord progression. Use the same or different sounds for variety.

Sound Design Tweaks

Fine-tune your layers by adjusting their volume, panning, and effects. Make sure each layer enhances the overall sound without overpowering the main pad.

Step 8: Balancing and Mixing Your Pad

Balancing and Mixing Your Pad

A great pad can still fall flat if it’s not properly balanced and mixed within your track.

Volume and Panning

  • Volume: Set the pad volume so it fills out the track but doesn’t overpower the other elements.
  • Panning: Experiment with slight panning to give your pad a wide, stereo presence.

EQ and Compression

  • EQ: Use equalization to carve out space for your pad. Boost the frequencies where the pad shines (e.g., 200-500 Hz) and cut any muddiness.
  • Compression: Apply gentle compression to even out the dynamics and keep the pad consistent.

Sidechain Compression

Sidechain compression can help your pad fit better in the mix, especially when the kick drum hits.

  • Set up a sidechain: Route your pad to a compressor that’s triggered by the kick drum.
  • Adjust the settings: Set a fast attack and release to create a pumping effect that allows the kick to punch through.

Step 9: Testing and Refining Your Pad

Testing and Refining Your Pad

Now that your pad is crafted, it’s time to test it in different contexts and refine it.

Listen on Different Systems

Play your track on various speakers, headphones, and even your car stereo. Make sure the pad sounds great everywhere.

Get Feedback

Share your track with friends or other producers and ask for their feedback. Fresh ears can catch things you might have missed.

Make Adjustments

Based on the feedback and your own critical listening, make any necessary adjustments to the sound, chord progression, or mix.

Step 10: Final Touches

Final Touches

The final touches can take your pad from good to great.

Automation

Use automation to add movement and dynamics to your pad.

  • Filter sweeps: Automate the filter cutoff to create evolving sounds.
  • Volume changes: Automate the volume to emphasize certain parts of the progression.

Additional Effects

Add any final effects to polish your pad.

  • Distortion: A touch of distortion can add edge and character.
  • Phaser/Flanger: These effects can add movement and interest.

Wrapping Up

Congratulations! You’ve just crafted the perfect pad sound using Sylenth1. Let’s recap what we’ve learned:

  1. Setting Up Your Workspace: Choose a DAW and install Sylenth1.
  2. Understanding Sylenth1: Familiarize yourself with the interface and controls.
  3. Choosing the Right Sound: Start with oscillators and layer sounds.
  4. Shaping the Sound with Filters: Use filters to define your pad’s character.
  5. Adding Effects for Extra Spice: Reverb, delay, and chorus can transform your pad.
  6. Writing the Chord Progression: Create a smooth, flowing progression.
  7. Layering and Enhancing Your Pad: Add depth and richness with additional layers.
  8. Balancing and Mixing Your Pad: Use EQ, compression, and sidechain compression.
  9. Testing and Refining Your Pad: Listen on different systems and get feedback.
  10. Final Touches: Use automation and additional effects to polish your pad.


Now it’s time to unleash your creativity and make some unforgettable trance tracks. Remember, the most important thing is to have fun and experiment! 🎶✨

Related posts

Transitioning from Trance to Melodic House: Why You Should Explore New Genres

Transitioning from Trance to Melodic House: Why You Should Explore New Genres

If you’re like me, you’ve probably spent years making Trance music. After awhile, it can get old. Especially with genres like Trance where there is a very specific formula to follow and not much room for experimentation. Eventually, you WILL experience burnout at some point and music will start feeling like a chore. One of the best ways I’ve found to get over this roadblock is to try producing other genres. One of those is Melodic House.

Read More »
Melodic House Basslines

Crafting the Perfect Bassline for a Melodic House Track

If you’re just starting out on your musical journey, you’ve probably realized that creating a standout bassline for your melodic house track is both exciting and challenging. Don’t worry—I’ve been producing for over 20 years, and I’m here to help you with every step of the way. In this guide,

Read More »
Building Your DJ Skills: Basic Techniques for Trance Music

Building Your DJ Skills: Basic Techniques for Trance Music 

If you’re reading this, you probably have a love for Trance music and a burning desire to learn how to DJ. That’s awesome! Trance is an incredibly powerful and emotional genre, and becoming a Trance DJ means you’ll get to share those euphoric vibes with audiences everywhere. I’ve been in

Read More »
Creating Gritty Acid Sounds in Sylenth1

Creating Gritty Acid Sounds in Sylenth1

This week at ReadyForMasterclass we are announcing a new Sylenth1 bank by ReOrder and MYR.  ReOrder and MYR went through their tracks over the past decade and picked out their favorite presets – ones they used again and again because of how useful they were, and created many new presets

Read More »

This website uses cookies

We use cookies to ensure you get the best experience on our website. We use essential cookies to make our site work. We’d also like to set optional cookies to help us improve your experience, understand how the site is used, and personalize content and advertising.

Your consent: By clicking “Allow Cookies,” you agree to the storing of cookies on your device to enhance site navigation, analyze site usage, and assist in our marketing efforts. You can customize your cookie preferences or withdraw your consent at any time by adjusting your browser settings to delete your consent.

For more detailed information about the cookies we use and how to manage or delete them, please visit our Cookie Policy and Privacy Policy.